How Do Full Color 40oz Tumbler Sleeves Impact Wholesale Branding Strategies?
You spend thousands on product inventory, but your tumblers blend into the competition. Your retail partners complain about weak brand recognition. You watch sales flatline while premium brands dominate shelf space.
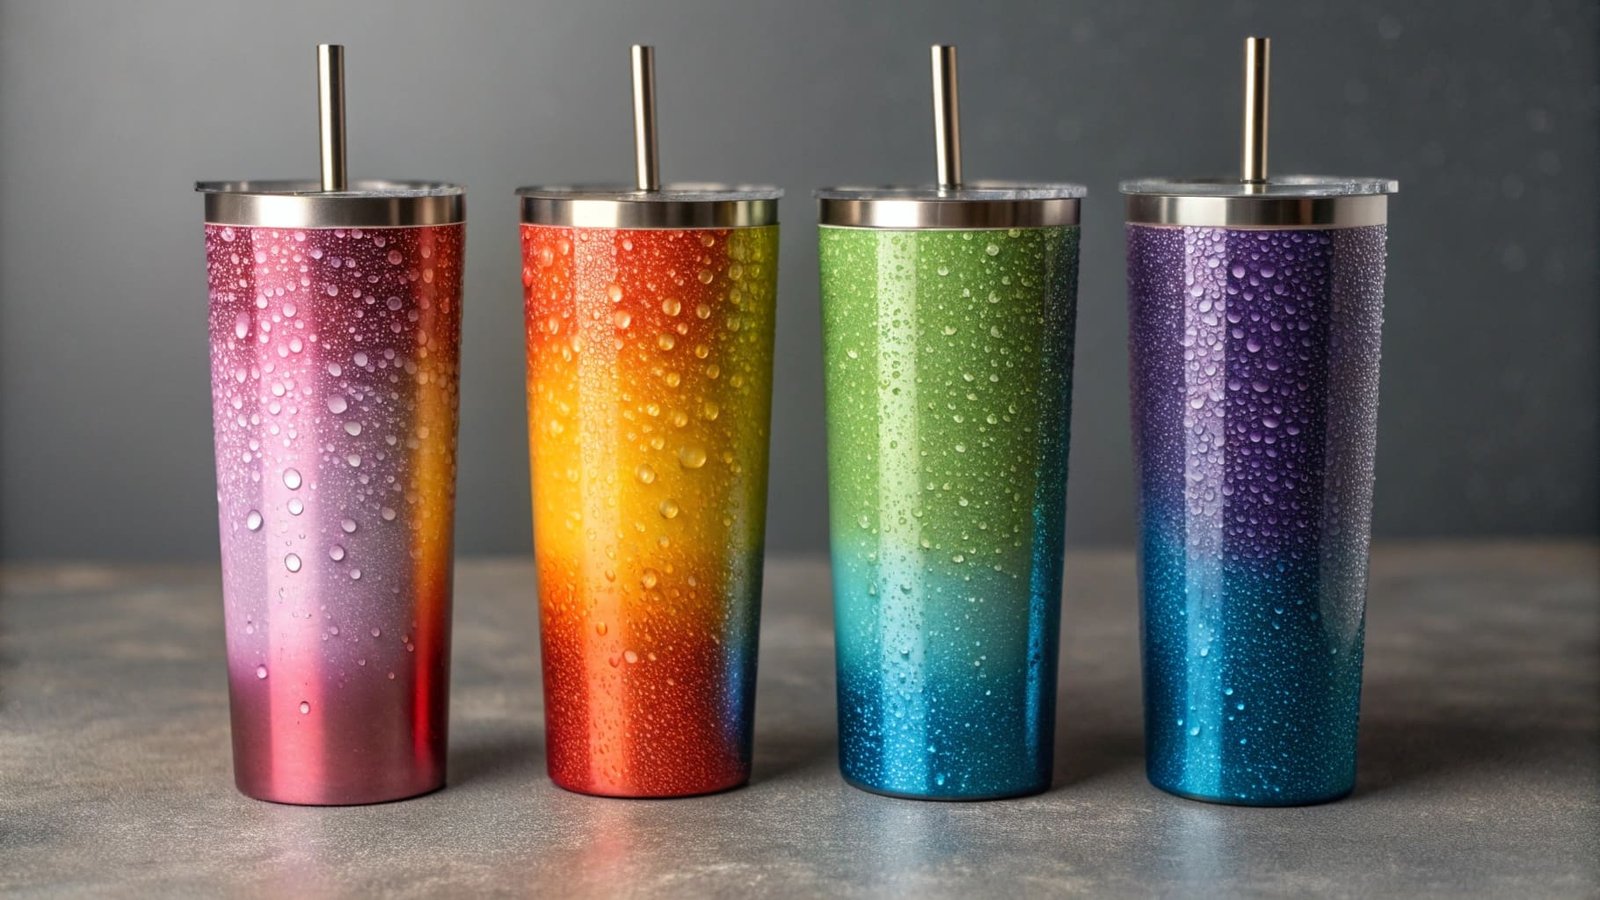
Full color 40oz tumbler sleeves transform standard products into distinctive branded items. They offer 360-degree design coverage without expensive mold investments. This approach cuts customization costs1 while maintaining premium visual appeal for wholesale buyers.
I have watched hundreds of wholesale buyers struggle with the same branding challenge. They purchase quality tumblers but fail to differentiate their products in crowded markets. The gap between product quality and brand perception costs them significant market share. What most buyers do not realize is that full color sleeves solve multiple branding problems at once.
What Size Shrink Wrap for 40 oz Tumbler?
You measure your tumblers incorrectly and waste entire production runs. Your sleeves wrinkle during application or leave gaps at the top. Your retail partners reject shipments because the final product looks unprofessional.
Standard 40oz tumbler shrink wrap measures 12-13 inches in height. The circumference requires the tumbler diameter multiplied by 3.14, plus 10-15% extra for shrinkage. Precise measurement prevents application failures and maintains brand presentation quality.
I learned this calculation method after my first client wasted 2000 sleeves due to improper sizing. The formula seems simple but requires attention to three critical factors. First, you must measure the tumbler at its widest point, not at the top rim where most people start. Second, the shrinkage percentage varies based on material thickness and heat application method. Third, you need to account for the seam overlap, which typically adds another 0.5 inches to your total circumference calculation.
Here is how I help my clients calculate the correct size:
| Measurement Step | Formula | Example for 3.5" Diameter |
|---|---|---|
| Base Circumference | Diameter × 3.14 | 3.5 × 3.14 = 10.99 inches |
| Shrinkage Allowance | Base × 1.12 | 10.99 × 1.12 = 12.31 inches |
| Seam Overlap | Result + 0.5 | 12.31 + 0.5 = 12.81 inches |
| Final Cut Width | Round up | 13 inches |
The height calculation follows a different logic. Most 40oz tumblers stand between 10-11 inches tall. I recommend 12-13 inch sleeve height to ensure full coverage from base to rim. This extra length prevents gaps during shrinkage and allows for slight variations in tumbler manufacturing tolerances. Some buyers try to save money by reducing sleeve height by half an inch. This decision always backfires when sleeves pull up during heat application, exposing unbranded metal at the bottom.
Do You Have to Seal a Sublimation Tumbler?
Your supplier claims sublimation prints2 last forever without sealing. Six months later, your customers complain about fading graphics. Your brand reputation suffers because you trusted incomplete technical information.
Sublimation tumblers need clear coat sealing for durability and fade protection. The dye infusion process creates vibrant colors but lacks surface protection. Quality shrink sleeves come pre-sealed and only require proper heat application during installation.
This question reveals a common confusion in our industry between two different decoration methods. Sublimation uses heat to turn solid dye into gas, which then bonds with polymer-coated surfaces. The result creates permanent color that sits below the surface layer. However, this polymer coating degrades from UV exposure, dishwasher detergent, and repeated handling. Without a protective clear coat seal, sublimation prints2 fade within 6-12 months of regular use.
I saw this problem firsthand when a client shipped 5000 sublimation tumblers to a major retailer without proper sealing. Within four months, customer returns flooded back due to visible fading around high-contact areas. The retailer cancelled future orders and the client lost a significant account. The protective seal acts as a barrier against environmental damage while enhancing the graphic depth and color vibrancy.
Shrink sleeves work differently. The printing happens on pre-manufactured plastic film that already includes UV-resistant and scratch-resistant coatings. When you apply heat, the sleeve conforms to the tumbler shape but the printed graphics remain protected by these factory-applied coatings. You do not need additional sealing steps. The heat application temperature for sleeves ranges from 250-280°F for 8-15 seconds, depending on material thickness. This process differs completely from sublimation, which requires 400°F for 60-90 seconds plus a separate sealing step.
How to Calculate Shrink Sleeve Size?
Your production team guesses at shrink rates and ruins expensive inventory. Your sleeves crack during application or fail to conform properly. You cannot scale your operation because quality control remains inconsistent.
Calculate shrink sleeve size by measuring tumbler dimensions, adding material-specific shrinkage rates, and including seam allowance. Different materials shrink at different rates between 40-70%. Accurate calculation ensures consistent quality across large production runs for wholesale operations.
I developed a calculation system after working with over 200 wholesale clients who struggled with this exact problem. The shrinkage rate depends on three variables that most suppliers do not explain clearly. Material composition determines the base shrinkage percentage. PET-G shrinks at 40-50%, while PVC can reach 60-70% shrinkage. OPS material sits in the middle at 50-60%. You must know your material type before calculating anything else.
Temperature application affects the actual shrinkage achieved. Lower temperatures result in incomplete shrinkage, leaving loose areas that look unprofessional. Higher temperatures can cause over-shrinkage, leading to distortion or cracking. I recommend testing samples at three different temperatures before committing to full production runs. The direction of shrinkage also matters more than most buyers realize. Some materials shrink more in the circumference than in height, which affects how you orient your design artwork.
Here is the complete calculation method I use:
| Factor | Calculation Method | Impact on Final Size |
|---|---|---|
| Base Measurement | Physical tumbler dimensions | Starting point |
| Material Shrinkage | Base ÷ (1 - shrink rate) | Determines pre-shrink size |
| Design Bleed | Add 0.25" to all edges | Prevents white gaps |
| Registration Marks | Add 0.5" to height | Ensures alignment |
The most critical mistake happens when buyers forget about the transition zones on tapered tumblers. A 40oz tumbler rarely maintains consistent diameter from top to bottom. The base typically measures 2.75-3 inches, while the top rim reaches 3.5-4 inches. This taper requires graduated shrinkage calculation where you average the two diameters, then add an extra 5% to ensure the sleeve conforms smoothly to both sections without bunching or gapping.
I always tell my clients to produce 50-100 test sleeves before committing to production runs of 5000 or more. These test samples reveal issues with artwork placement, color accuracy, and shrinkage performance that you cannot predict from calculations alone. The small investment in testing prevents massive waste and protects your brand reputation in retail channels.
Conclusion
Full color 40oz tumbler sleeves provide wholesale buyers with cost-effective branding differentiation. Proper sizing, material selection, and application technique determine success. Master these technical elements to build competitive advantage.