How to Connect Hydration Bladder Tubes for Mass Production Requirements?
I've seen countless production lines fail because of poor tube connections. The wrong method leads to leaks, returns, and angry customers. Your brand reputation depends on getting this right from the start.
For mass production, use push-fit connections with O-ring seals. They assemble faster than threaded caps and maintain consistent quality across thousands of units. The key is precise silicone molding tolerances1.

I work with B2B clients every day who face the same challenge. They need reliable connections that work at scale. Let me share what I've learned from our production floor.
How to attach a hydration bladder?
Most buyers ask me this question first. They worry about assembly speed versus seal quality. The wrong choice costs time and money in production.
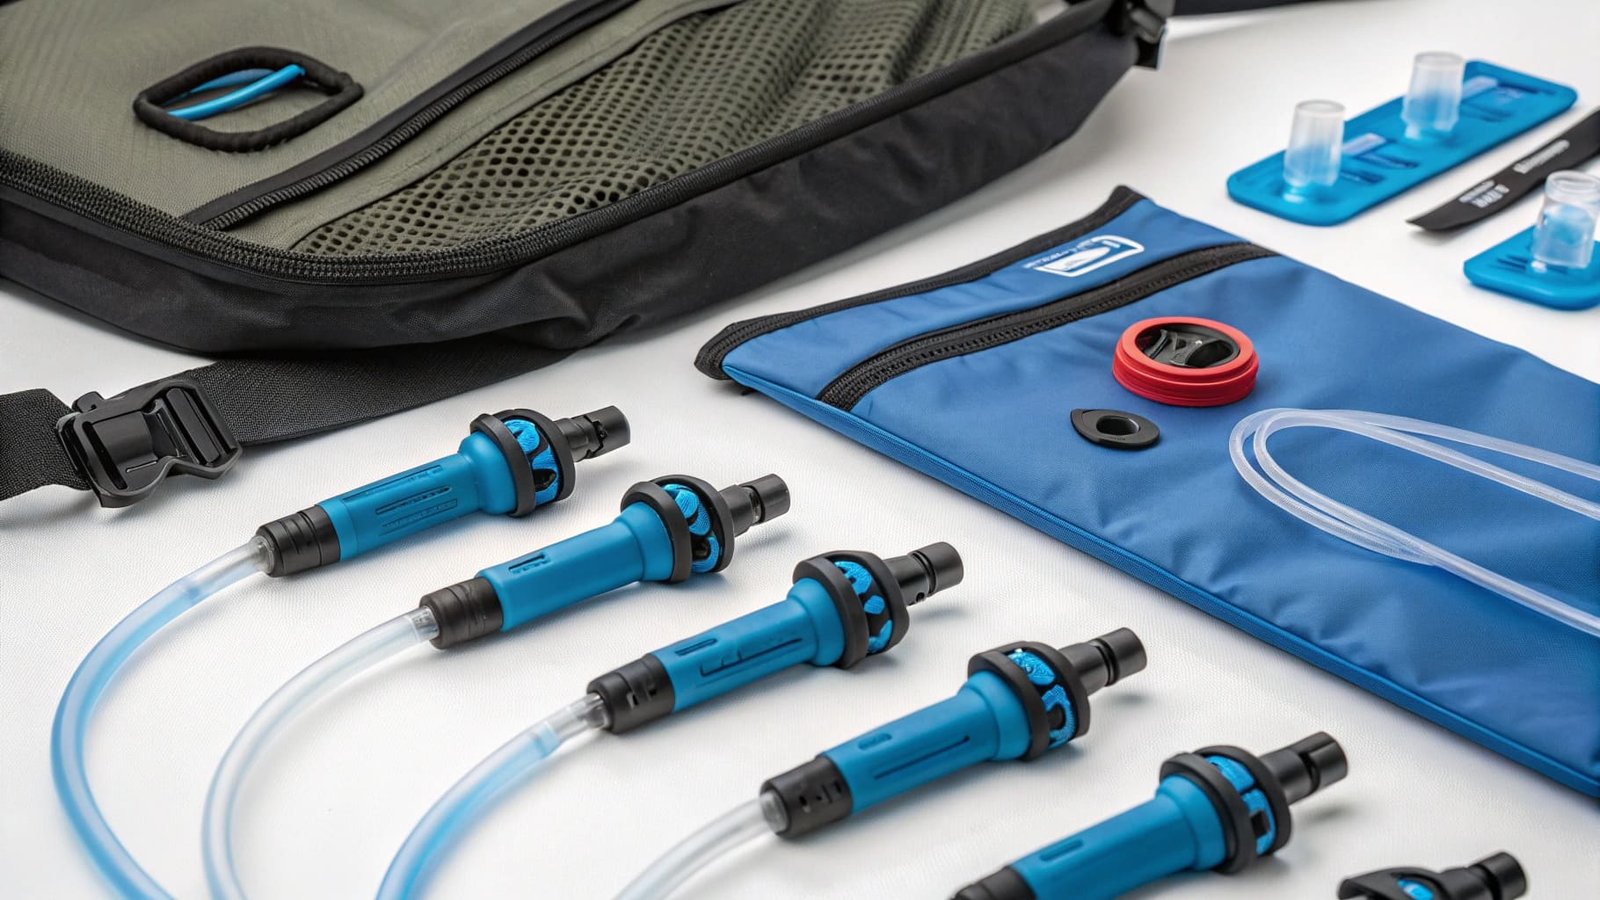
Attach hydration bladders using push-fit connectors with silicone O-rings. Insert the tube into the bladder port until you hear a click. The O-ring creates a water-tight seal that prevents leaks during use.
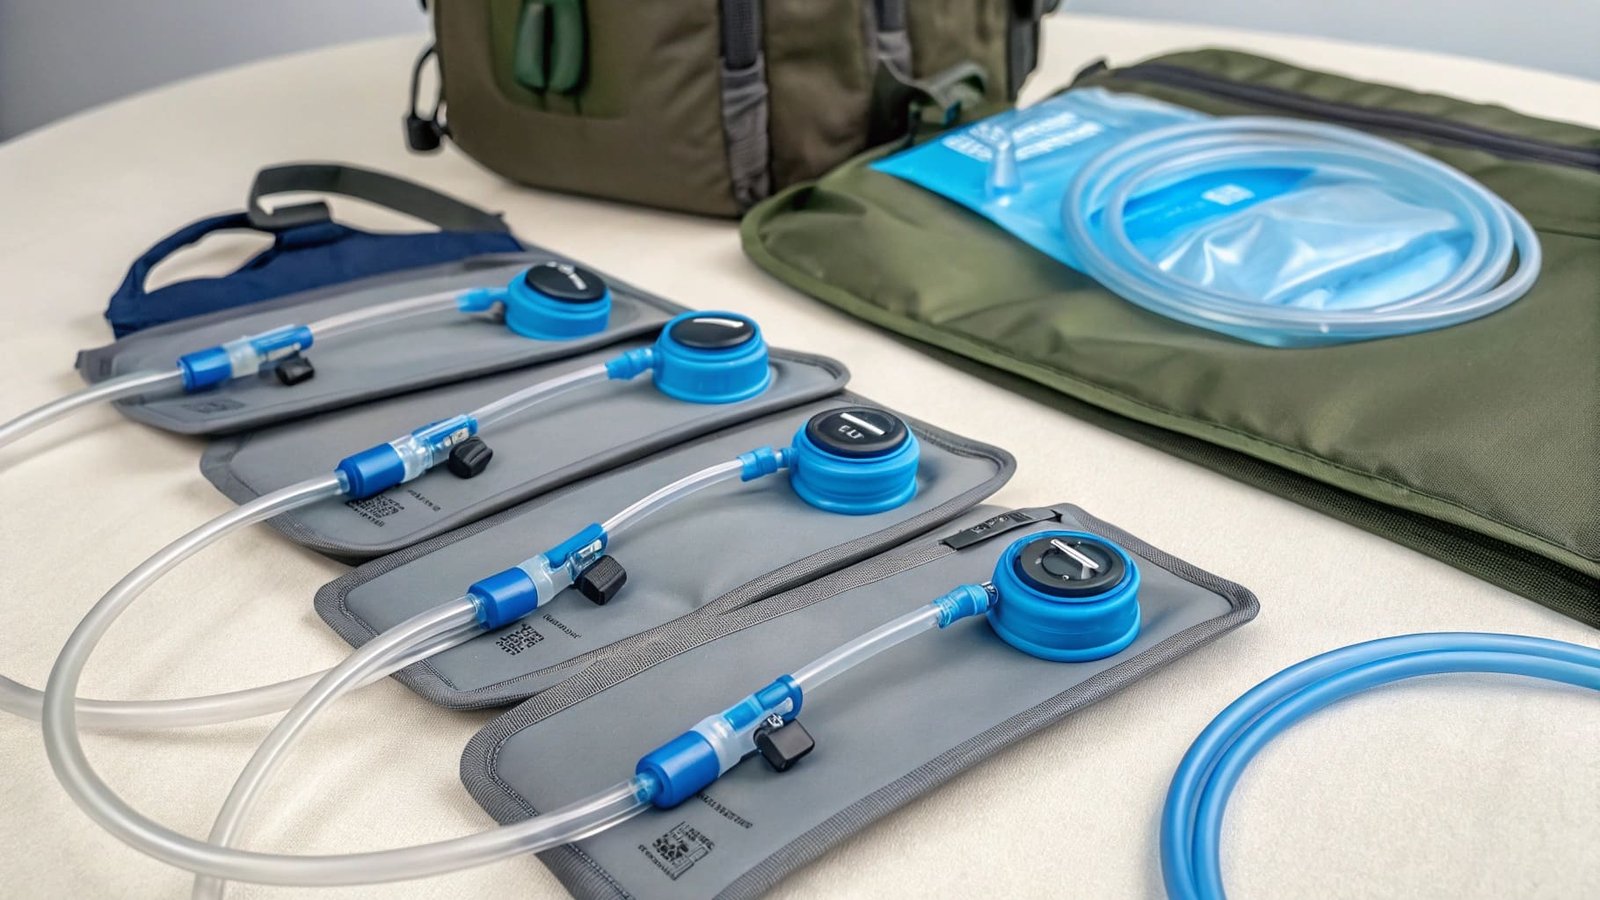
I recommend two main methods for production lines. The first method uses push-fit systems. You insert the tube directly into the bladder port. The O-ring sits inside the port opening. When you push the tube in, the O-ring compresses. This creates the seal. The advantage is speed. Workers can attach tubes in seconds. I've timed our workers. They complete one connection every three seconds.
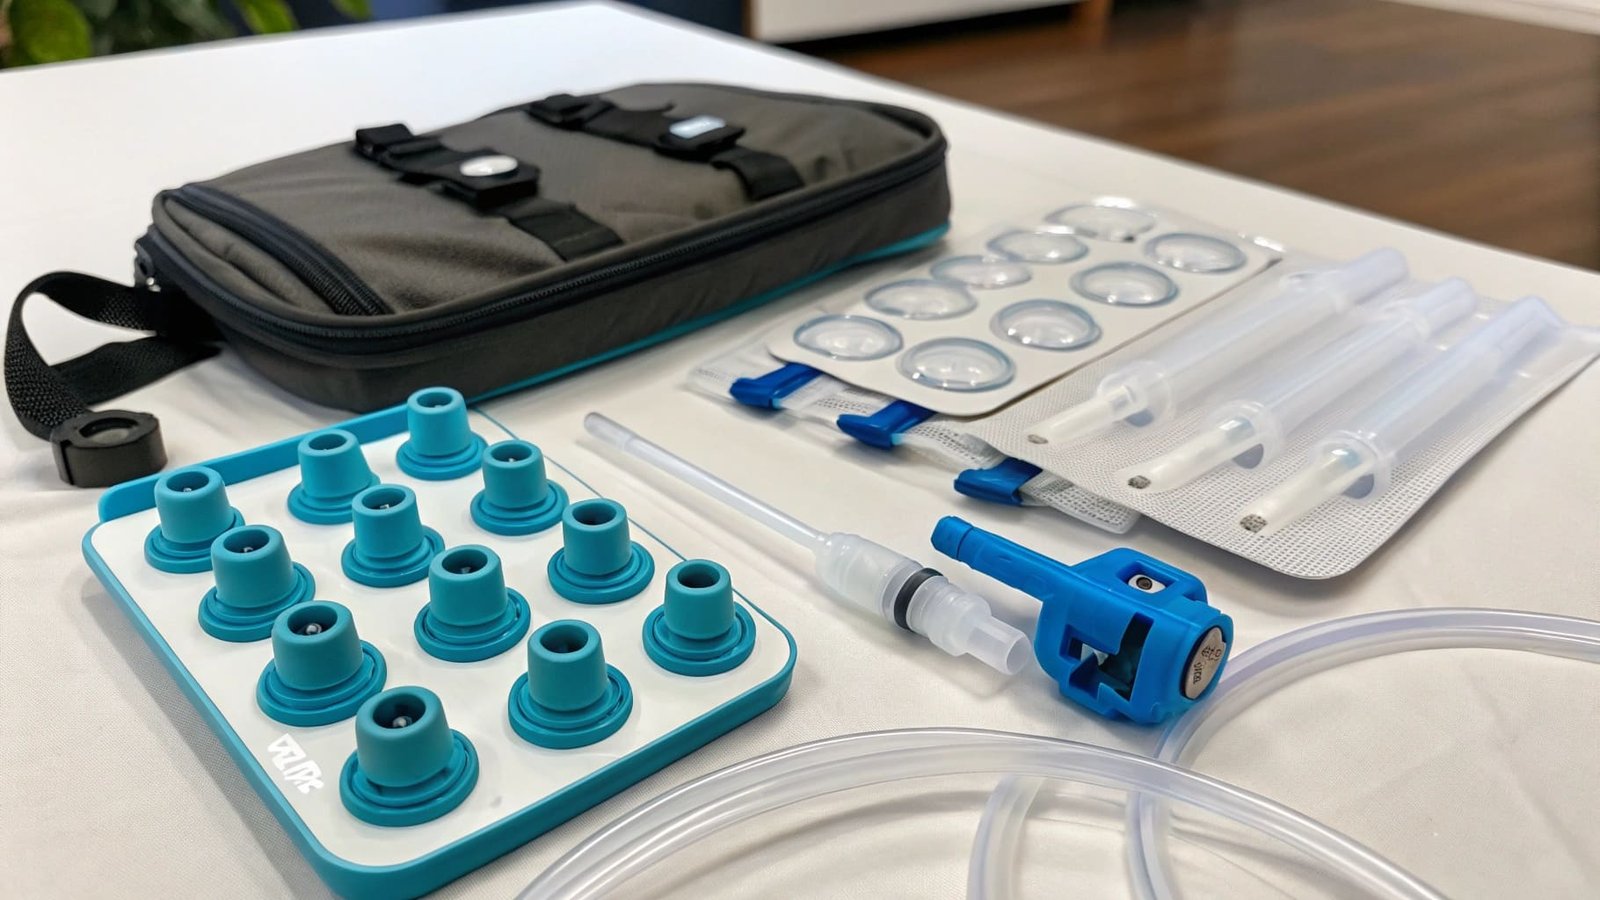
The second method uses threaded screw caps. You thread the tube through the cap first. Then you screw the cap onto the bladder. The threads create the seal. This method takes longer. Workers need about eight seconds per connection. But some buyers prefer this. They trust threaded connections more.
Here's my production comparison:
| Method | Assembly Time | Leak Rate | Worker Training | Best For |
|---|---|---|---|---|
| Push-fit | 3 seconds | 0.1% | 1 hour | High volume orders |
| Threaded | 8 seconds | 0.05% | 2 hours | Premium brands |
| Quick-release | 4 seconds | 0.2% | 1.5 hours | Sport applications |
I always tell buyers to test both methods. Send me your sample requirements. We run 100 units of each type. Then we pressure test them. The data helps you decide. Quality matters more than theory.
How to thread a hydration bladder through a backpack?
This question comes from buyers who serve the outdoor market. Their customers expect easy installation. Complicated threading processes create negative reviews.
Thread the bladder tube through the designated opening near your shoulder strap. Run the tube along the backpack's internal sleeve. Exit through the port on the chest area. Secure with the provided clip.
I've worked with backpack brands for five years. They all face the same issue. The tube needs to reach the right position. Too short and users can't drink. Too long and it dangles.
Standard tube length is 100cm for adult backpacks. We measure from the bladder port to the mouthpiece. Children's backpacks need 80cm tubes. This fits most designs. But some buyers need custom lengths. I keep three tube lengths in stock. We cut them during assembly.
The internal routing path matters. Most backpacks have a fabric sleeve. The tube runs through this sleeve. It protects the tube from damage. It also keeps the tube stable. Some designs use clips instead. The clips attach to webbing inside the pack. We install compatible clips during production.
Exit port position affects user comfort. The standard position is 10cm below the shoulder strap. This puts the mouthpiece at chest level. Users can drink without looking down. Some brands want higher or lower positions. We adjust the routing sleeve placement.
Here's what affects threading compatibility:
| Factor | Standard Spec | Custom Options | Impact on Production |
|---|---|---|---|
| Tube length | 100cm | 80-120cm | Cutting station needed |
| Clip spacing | 15cm intervals | Custom spacing | Die modification |
| Exit port size | 12mm diameter | 10-15mm | Different grommets |
| Tube diameter | 6mm outer | 4-8mm options | Separate inventory |
I recommend modular designs for B2B orders. We produce tubes in three standard lengths. Buyers pick their length at order time. This reduces inventory complexity. It also speeds up production.
How long can water sit in a hydration bladder?
Safety concerns drive this question. Buyers worry about bacterial growth. Their brand takes the blame if users get sick.
Water can safely sit in a hydration bladder for 24-48 hours when using medical-grade silicone2 or BPA-free materials. Empty and clean the bladder after each use. Bacteria grows rapidly beyond 48 hours without proper sanitization.
I test this in our lab regularly. We fill bladders with water. We leave them at room temperature. Then we test for bacterial growth. The results depend on the silicone quality.
Medical-grade silicone performs best. Water stays safe for 48 hours. Regular silicone shows bacterial growth after 30 hours. This is why I only use medical-grade materials for B2B orders. The cost difference is small. The quality difference is huge.
Temperature affects water safety. Cold water lasts longer than warm water. Bacteria multiply faster in warm conditions. I tell buyers to educate their customers. Store filled bladders in cool places. Refrigeration extends safe storage to 72 hours.
Antimicrobial additives help. Some buyers request these in their orders. We add silver ions to the silicone compound. This reduces bacterial growth. Water stays safe for up to 72 hours at room temperature. The cost increases by 15%. But premium brands prefer this option.
Cleaning protocols matter more than materials. Even the best silicone needs proper care. I recommend users rinse bladders after each use. Deep clean weekly with specialized tablets. Air dry completely before storage. Moisture creates breeding grounds for bacteria.
Here's my material comparison for water safety:
| Material Type | Safe Duration | Bacterial Resistance | Cost Premium | Cleaning Frequency |
|---|---|---|---|---|
| Medical-grade silicone | 48 hours | High | +20% | After each use |
| Food-grade silicone | 30 hours | Medium | Standard | After each use |
| With antimicrobial | 72 hours | Very high | +35% | Weekly |
| BPA-free plastic | 24 hours | Low | -15% | After each use |
I've seen brands fail because they chose cheap materials. The bladders worked fine at first. But customers reported problems after three months. Discoloration. Odors. These issues come from poor material quality. I always recommend investing in proper materials. Your brand reputation depends on it.
Quality testing catches problems early. We pressure test every batch. The test runs at 2 bar pressure for 30 seconds. Any leaks fail the test. We also do visual inspections. Workers check each connection point. Automated systems help. But human eyes catch subtle defects.
Conclusion
Production quality starts with the right connection method. Choose systems that match your volume needs. Test materials before full production runs. Your customers trust your brand with their safety.