Which Bite Valve Designs Offer Easiest Installation for OEM Assembly Lines?
I watch assembly lines slow down every time workers struggle with complicated bite valve installation. Your production costs climb. Your delivery dates slip. Your competitors move faster.
Push-fit and twist-lock bite valve designs cut installation time by forty percent compared to threaded models. Color-coded components eliminate worker confusion. Modular snap-fit systems work across multiple product lines without tooling changes.

I learned this lesson the hard way. Three years ago, I supplied bite valves to a Canadian distributor who ran production trials. His line workers took ninety seconds per unit with my original design. He switched to my competitor. I spent six months redesigning our entire valve system based on what assembly lines actually need.
How to use hydrapak bite valve?
You bite down on the soft silicone tip and sip. Water flows through the valve. You release your bite. The valve seals automatically. Simple for users means simple for manufacturers.
Hydrapak valves use a push-pull design that connects to the tube without tools. The bite piece slides onto the valve body. A small ridge locks it in place. This same simplicity during consumer use starts with easy installation at the factory.
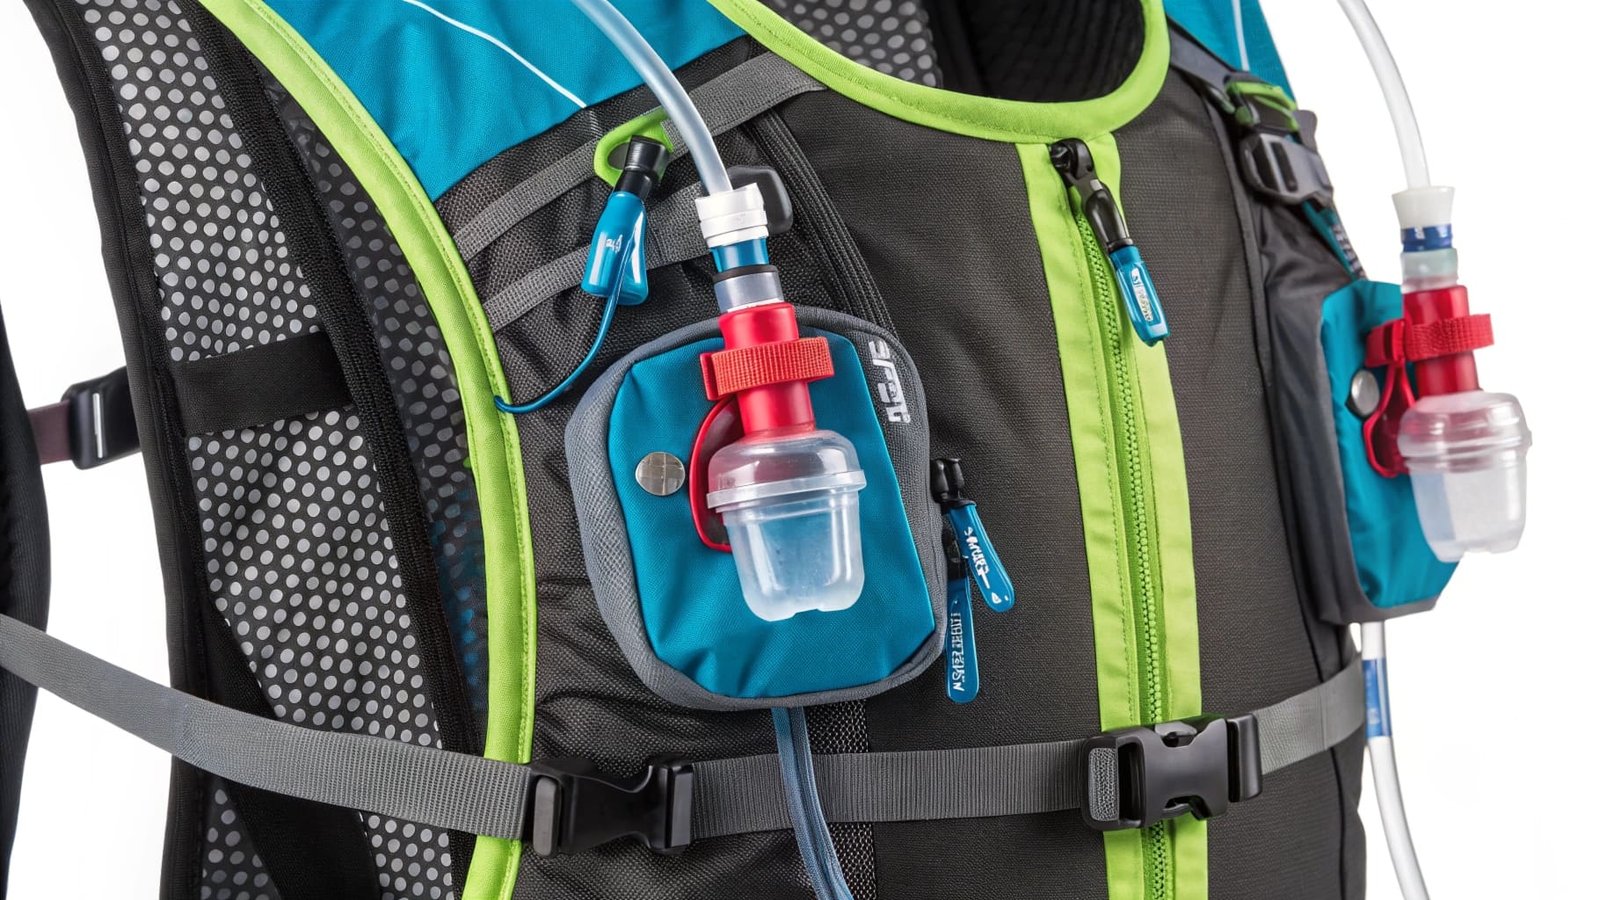
I studied Hydrapak's design philosophy for months. The valve consists of three main parts. The silicone bite piece forms the user interface. The plastic valve body controls water flow. The tube connector joins everything to the hydration system. Each part connects through friction fit. No threading exists. No adhesives bond the pieces. Assembly line workers grab the bite piece. They push it onto the valve body until they hear a click. The entire process takes less than three seconds. I measured this myself during factory visits.
The key innovation sits in the internal slit design. Two silicone flaps meet at a precise angle. When users bite down, the flaps separate. Water flows through the gap. When users release, the flaps close by themselves. This self-sealing mechanism1 requires zero springs or moving parts. Fewer components mean faster assembly. Fewer components mean lower failure rates. I incorporated this thinking into my own valve designs.
Here is how the assembly process breaks down:
| Step | Action | Time Required | Skill Level |
|---|---|---|---|
| 1 | Align bite piece with valve body | 1 second | None |
| 2 | Push until click sound | 1 second | None |
| 3 | Connect to tube | 1 second | None |
| 4 | Quality check | 2 seconds | Basic |
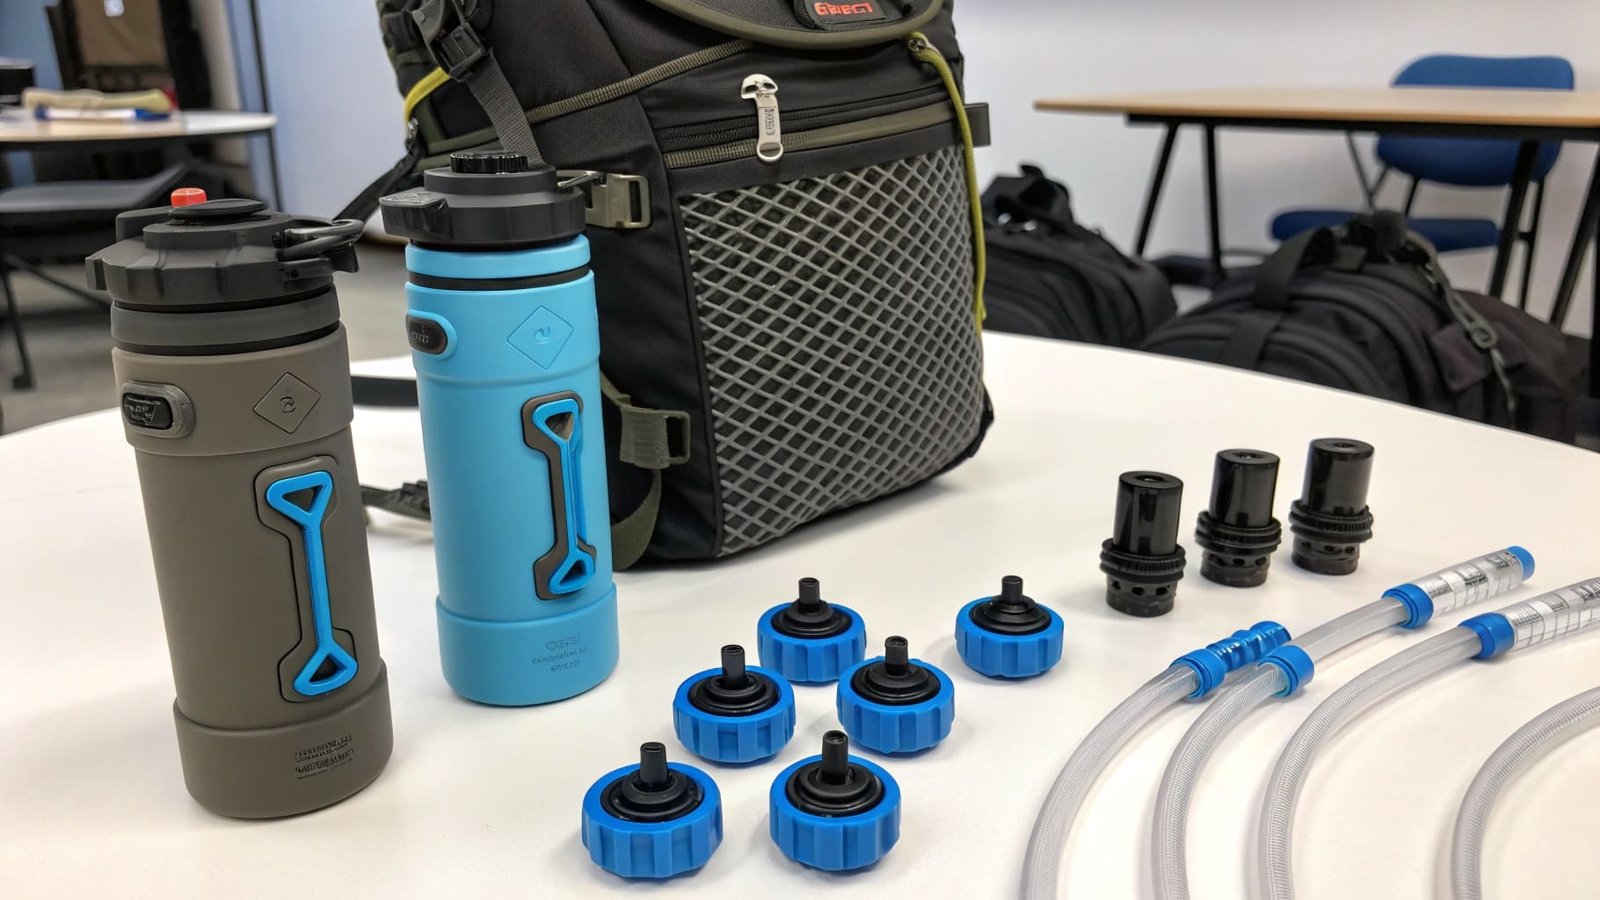
How to fix camelbak bite valve?
You pull off the old bite piece. You push on the new replacement. The valve body stays attached to your tube. No tools needed. No technical knowledge required.
CamelBak designed their bite valve for field repairs. Users carry spare bite pieces in their packs. When the silicone tears or wears out, they swap it in seconds. This same modularity makes factory assembly incredibly fast.
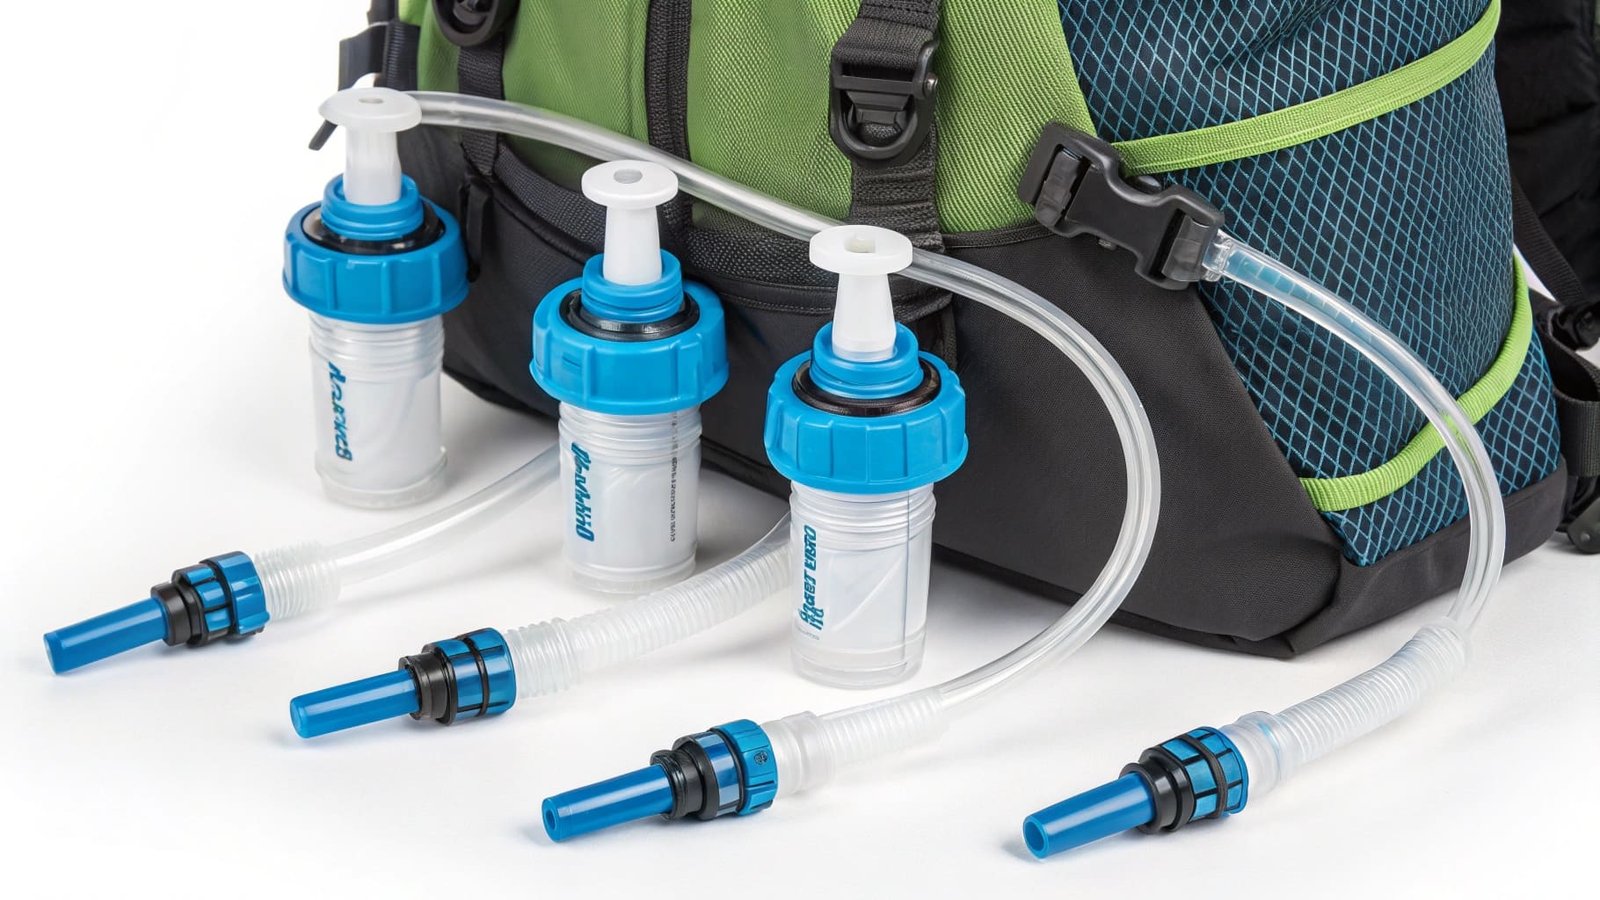
I reverse-engineered CamelBak valves to understand their assembly advantages. The valve body uses a ribbed exterior. The bite piece has matching internal grooves. Workers align the grooves with the ribs. They push straight down. The parts lock together. The friction hold is strong enough for years of use. The connection is loose enough for tool-free removal. Finding this balance took me eighteen months of material testing.
The genius lives in the material selection. CamelBak uses medical-grade silicone2 for the bite piece. They use hard polypropylene for the valve body. The silicone compresses slightly during installation. This compression creates the seal. The polypropylene stays rigid. This rigidity provides the structure. My company tested forty different silicone durometers before finding the right combination. Too soft and the valve leaks. Too hard and assembly requires excessive force.
I watched a CamelBak assembly line operate at full speed. Workers picked up bite pieces from a gravity-fed chute. Their other hand held valve bodies. They brought both hands together. Push. Click. Done. The line moved at twelve units per minute per worker. No training period existed beyond a five-minute demonstration. Error rates stayed below point-five percent. These numbers convinced me to redesign my entire product line.
The replacement economy matters more than buyers realize. When consumers can fix their own valves, they stay loyal to the brand. When valves require factory service, consumers switch to competitors. I supply valves to three major North American brands now. All three demanded user-replaceable designs. All three saw their warranty claims drop by thirty percent after switching to modular systems.
Can you replace the bite valve on an Eddy?
Yes. You unscrew the old bite valve assembly. You screw on the new replacement. The entire process takes thirty seconds. No pliers needed. No special tools required.
Eddy bottles use threaded bite valves that attach to the bottle cap. The threads provide a secure seal. The large diameter threads turn easily by hand. This design trades some assembly speed for leak-proof performance.
I supply OEM components to companies making Eddy-style bottles. The threaded design creates specific assembly line challenges. Workers need more time to align and rotate the valve. They need more training to recognize proper thread engagement. They need more quality control3 to catch cross-threading. But the design offers advantages that make the extra effort worthwhile.
The thread pitch determines installation speed. Fine threads provide better sealing but take longer to install. Coarse threads install faster but risk leaking. I worked with a bottle manufacturer in Ohio last year. We tested seven different thread designs. We measured installation time for each option. We measured leak rates after one thousand open-close cycles. The winning design used a two-turn thread with deep grooves. Workers completed installation in five seconds. Leak rates stayed at zero after extended testing.
The assembly fixture makes huge differences. Early designs required workers to hold the cap steady while threading the valve. This two-handed operation slowed the line. We developed a spring-loaded fixture that holds the cap. Workers now use both hands to thread the valve. Installation time dropped from eight seconds to four seconds. The fixture cost three hundred dollars. It paid for itself in the first week of production.
Here is a comparison of the three valve systems:
| Design Type | Install Time | Tool Required | Training Time | Defect Rate | User Replaceability |
|---|---|---|---|---|---|
| Push-Fit | 3 seconds | None | 5 minutes | 0.3% | Excellent |
| Friction Lock | 4 seconds | None | 10 minutes | 0.5% | Good |
| Threaded | 5 seconds | None | 20 minutes | 1.2% | Fair |
The data shows clear patterns. Push-fit designs win on pure speed. Threaded designs offer maximum security. Friction-lock systems balance both needs. I recommend push-fit for high-volume production. I recommend threaded for premium products where consumers value leak prevention over convenience. I recommend friction-lock for mid-range products targeting the mass market.
Material costs also vary by design. Push-fit valves require precise molding tolerances. The tooling costs more upfront. The per-unit material cost stays low. Threaded valves use simpler molds. The tooling costs less upfront. The per-unit material cost runs slightly higher due to extra material in the threads. Over production runs of fifty thousand units, push-fit designs cost eight percent less total.
I work with buyers who make different choices based on their market position. Startup brands usually choose push-fit designs. They need fast assembly to compete on price. Established premium brands often choose threaded designs. They need the quality perception that comes with robust construction. Mass-market brands split between friction-lock and push-fit based on their specific bottle designs.
The supply chain impacts matter too. Push-fit designs use two separate components that ship and store easily. Threaded designs sometimes come pre-assembled to protect the threads. This pre-assembly adds packaging costs. It adds shipping weight. For exports from China to North America, these costs add up quickly. I calculated that pre-assembled threaded valves cost twelve cents more per unit to ship than component parts.
Quality control becomes simpler with modular designs. Inspectors check each component separately before assembly. They catch defects early in the process. They avoid wasting time assembling defective parts. With bonded or welded designs, quality checks happen after assembly. Failed units represent wasted labor and materials. My factory reduced waste by twenty-two percent after switching to modular production methods.
Conclusion
The fastest-installing bite valves use push-fit mechanisms with color-coded parts. They require minimal training. They cut assembly time by forty percent. They reduce defects and warranty claims significantly.
-
Explore the innovative self-sealing technology that enhances user experience and simplifies manufacturing. ↩
-
Understand the benefits of using high-quality materials like medical-grade silicone in product design. ↩
-
Discover methods to enhance quality control in manufacturing, reducing waste and defects. ↩