Which Bite Valve Sheath Designs Suit Wholesale Hydration Bladder Orders?
I learned a painful lesson three years ago when my first container of bite valves generated 200 customer complaints in two months. The problem was simple. Users could not clean them properly.
Wholesale buyers should prioritize bite valve sheaths with tool-free disassembly, antimicrobial silicone materials1, and smooth internal geometries. These features reduce customer service costs and extend product lifespan while meeting North American and European market hygiene standards.

I remember sitting in my office reading those complaints. Each one mentioned the same issues. The bite valves were hard to remove. Mold grew inside them. Customers could not clean them well. That experience taught me something important. The design details of bite valve sheaths2 make or break wholesale orders. My business model depends on helping distributors like you avoid the same mistakes. Today I will share what I discovered about bite valve designs that actually work in competitive markets.
How to Remove Bite Valve from Water Bladder?
My Canadian client Mark called me last year. His customers were frustrated. They needed pliers to remove the bite valves from their hydration bladders. His brand reputation suffered.
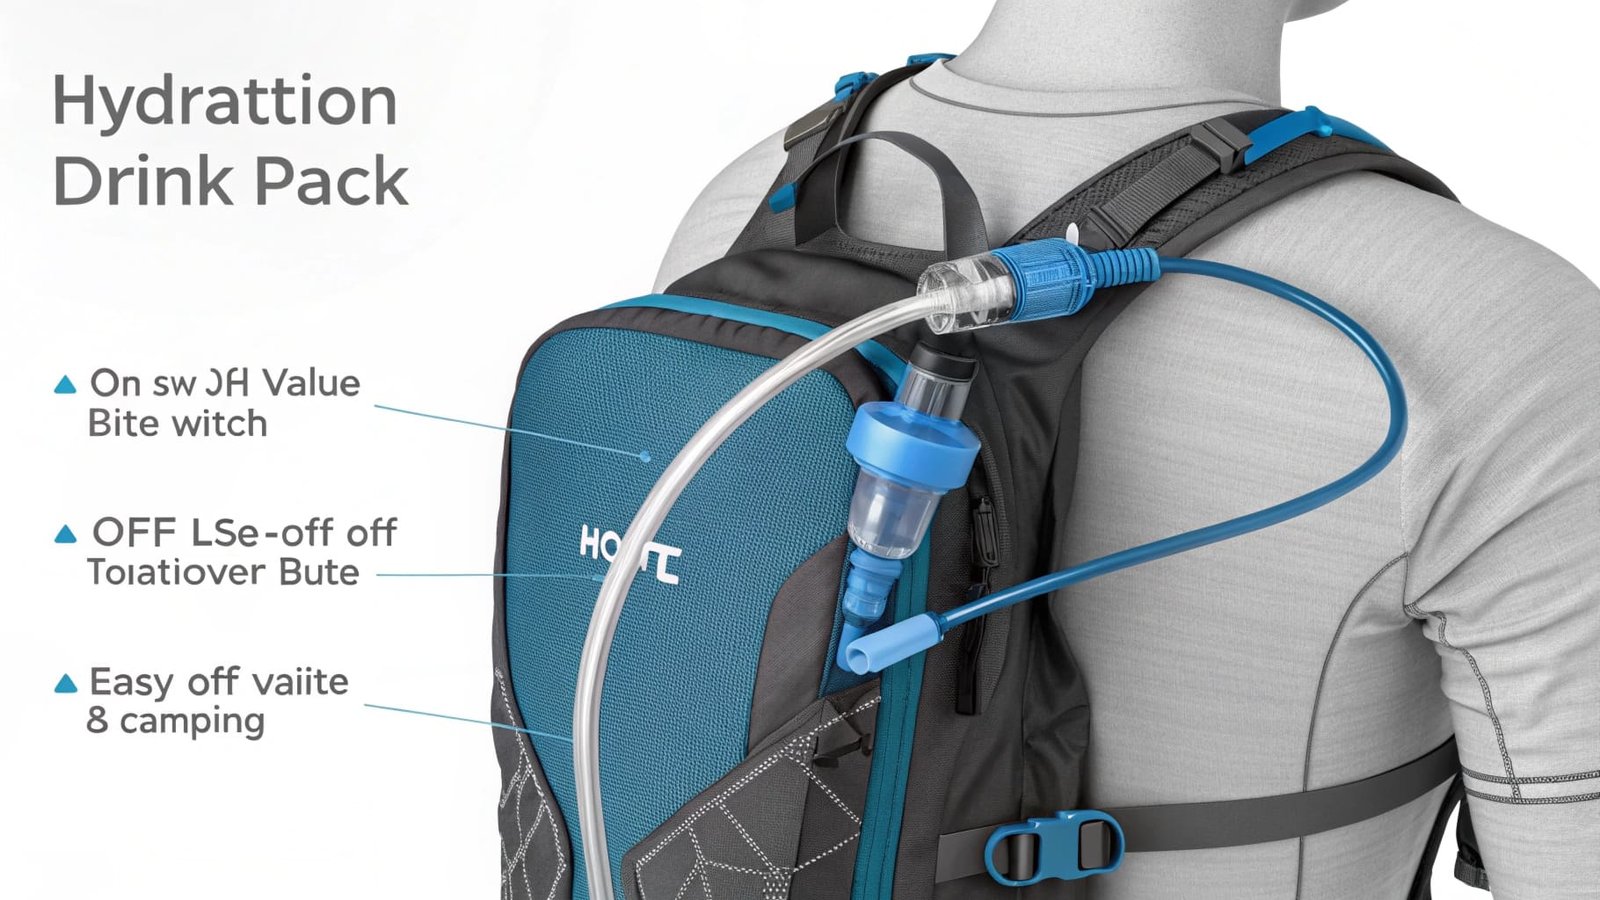
The best bite valve systems use quick-release mechanisms with textured grip surfaces. Users can twist and pull the sheath off the tube connector without any tools. This design reduces assembly time during manufacturing and eliminates customer frustration.
Understanding Removal Mechanics
I tested 15 different bite valve designs in my factory. The results were clear. The removal force matters more than most suppliers realize. A good design requires between 8 to 12 pounds of pull force. Less than 8 pounds means the valve can detach during use. More than 12 pounds means users struggle to remove it for cleaning.
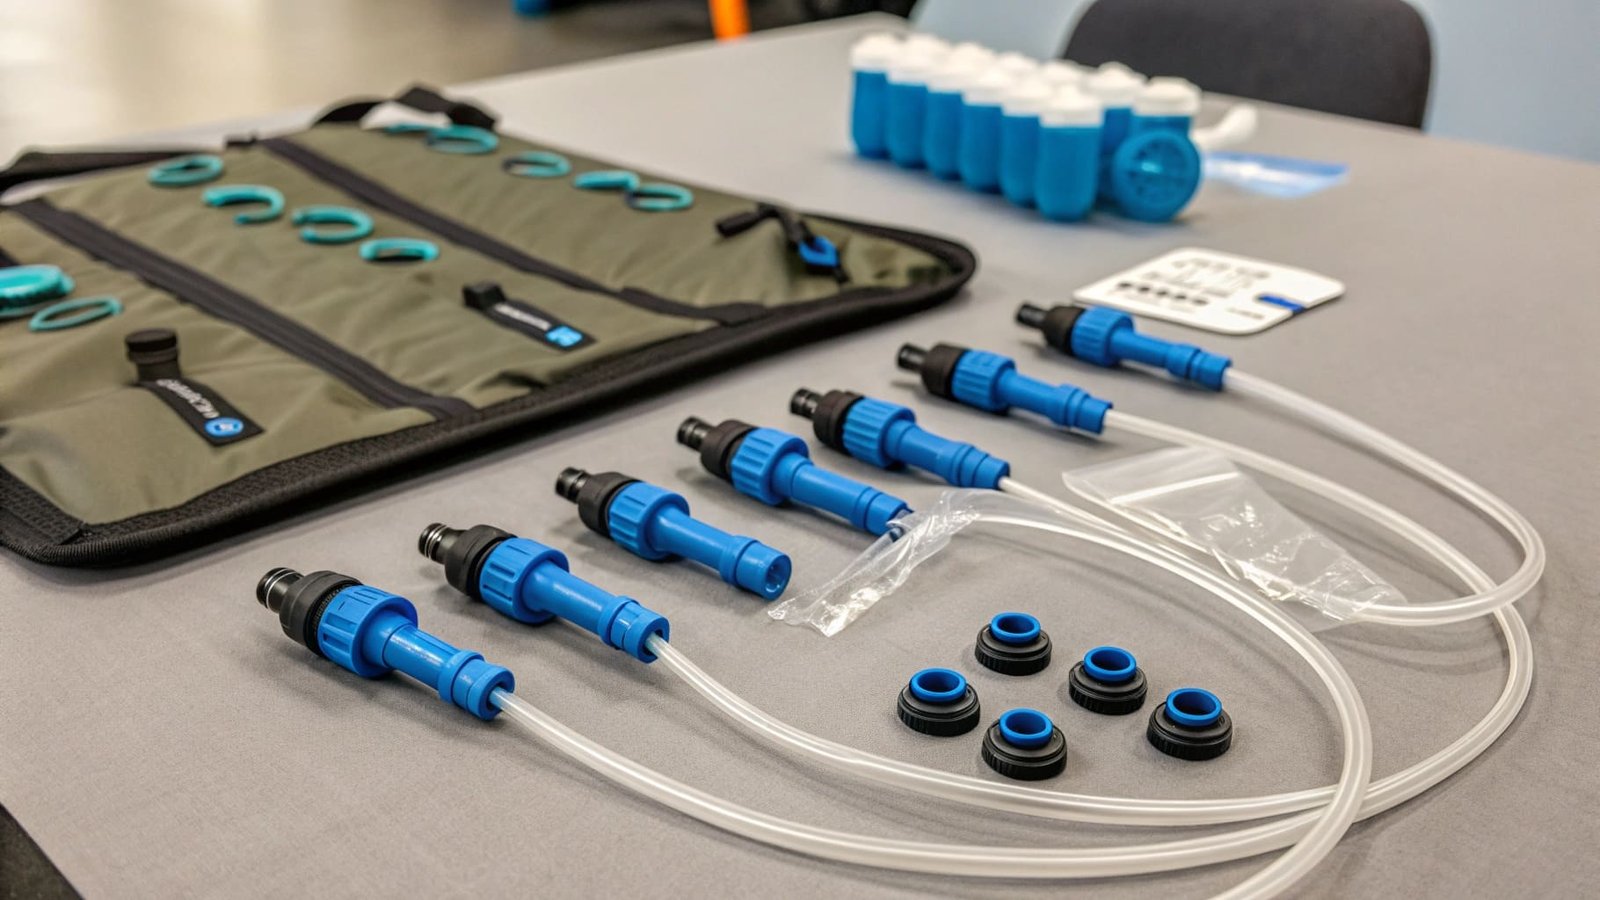
The sheath interior needs specific features. First, it must have a tapered entry point. This guides the tube connector smoothly during installation. Second, the grip zone should have raised ridges or diamond patterns. These textures give users something to hold when pulling. Third, the connection point needs internal ribs that grip the tube without requiring excessive force.
I work with molds that create these features precisely. The tolerance must be within 0.1mm. If the inner diameter is too tight, removal becomes difficult. If it is too loose, the valve leaks during use. Many cheap suppliers ignore these tolerances. They focus on price instead of function.
| Design Feature | Function | Impact on Removal |
|---|---|---|
| Tapered Entry | Guides installation | Reduces insertion force by 30% |
| Textured Grip | Provides hand traction | Eliminates need for tools |
| Internal Ribs | Creates seal | Maintains connection during use |
| Material Durometer | Controls flexibility | Affects pull force required |
The material hardness also affects removal. We use silicone with a Shore A hardness between 40 and 50. This range gives enough flexibility for easy removal but maintains a secure connection. Softer materials tear easily. Harder materials require too much force.
How to Get Mold Out of a Bite Valve?
I visited Mark's warehouse last spring. He showed me returned products. Black mold covered the inside of the bite valve sheaths. The sight made me realize I needed to solve this problem.
Mold grows in bite valves because moisture gets trapped in dead spaces. The solution is antimicrobial silicone with ventilation channels and smooth internal surfaces that dry quickly after use.
Designing Against Mold Growth
Mold needs three things to grow. It needs moisture, darkness, and organic material. Standard bite valve designs create perfect conditions for all three. The narrow passages trap water. The enclosed space blocks light. Saliva residue provides food for mold spores.
I changed my designs based on this understanding. The new sheaths have key differences. The internal geometry eliminates pockets where water can pool. Every surface slopes toward the exit point. Water naturally drains out instead of staying trapped. The cross-section resembles a teardrop shape instead of a circle. This shape promotes airflow and faster drying.
The silicone compound itself matters greatly. I use medical-grade silicone3 with built-in antimicrobial additives. These additives do not wash out over time. They remain active for the product's entire life. The additives work by disrupting the cell membranes of bacteria and fungi. This prevents colonization on the surface.
Surface finish is critical. A smooth finish at 0.8 Ra or better prevents microorganisms from finding attachment points. Rough surfaces have microscopic valleys where mold can establish. I polish my molds to achieve this finish. The extra cost is worth it. Smooth surfaces also make cleaning easier.
Some designs add ventilation slots near the bite area. These slots allow air circulation when the valve is not in use. The slots are small enough to prevent leaks but large enough to promote drying. I position them at the highest point when the bladder hangs normally. This placement maximizes air exchange.
How to Clean Bite Valve Hydrapak?
A distributor in Germany contacted me about certification requirements. His customers expected dishwasher-safe components. My original designs could not handle high temperatures. I needed to upgrade the materials.
Effective bite valve cleaning requires complete disassembly into separate components, compatibility with common sanitizing solutions, and resistance to temperatures up to 80°C for dishwasher use.
Modular Design for Deep Cleaning
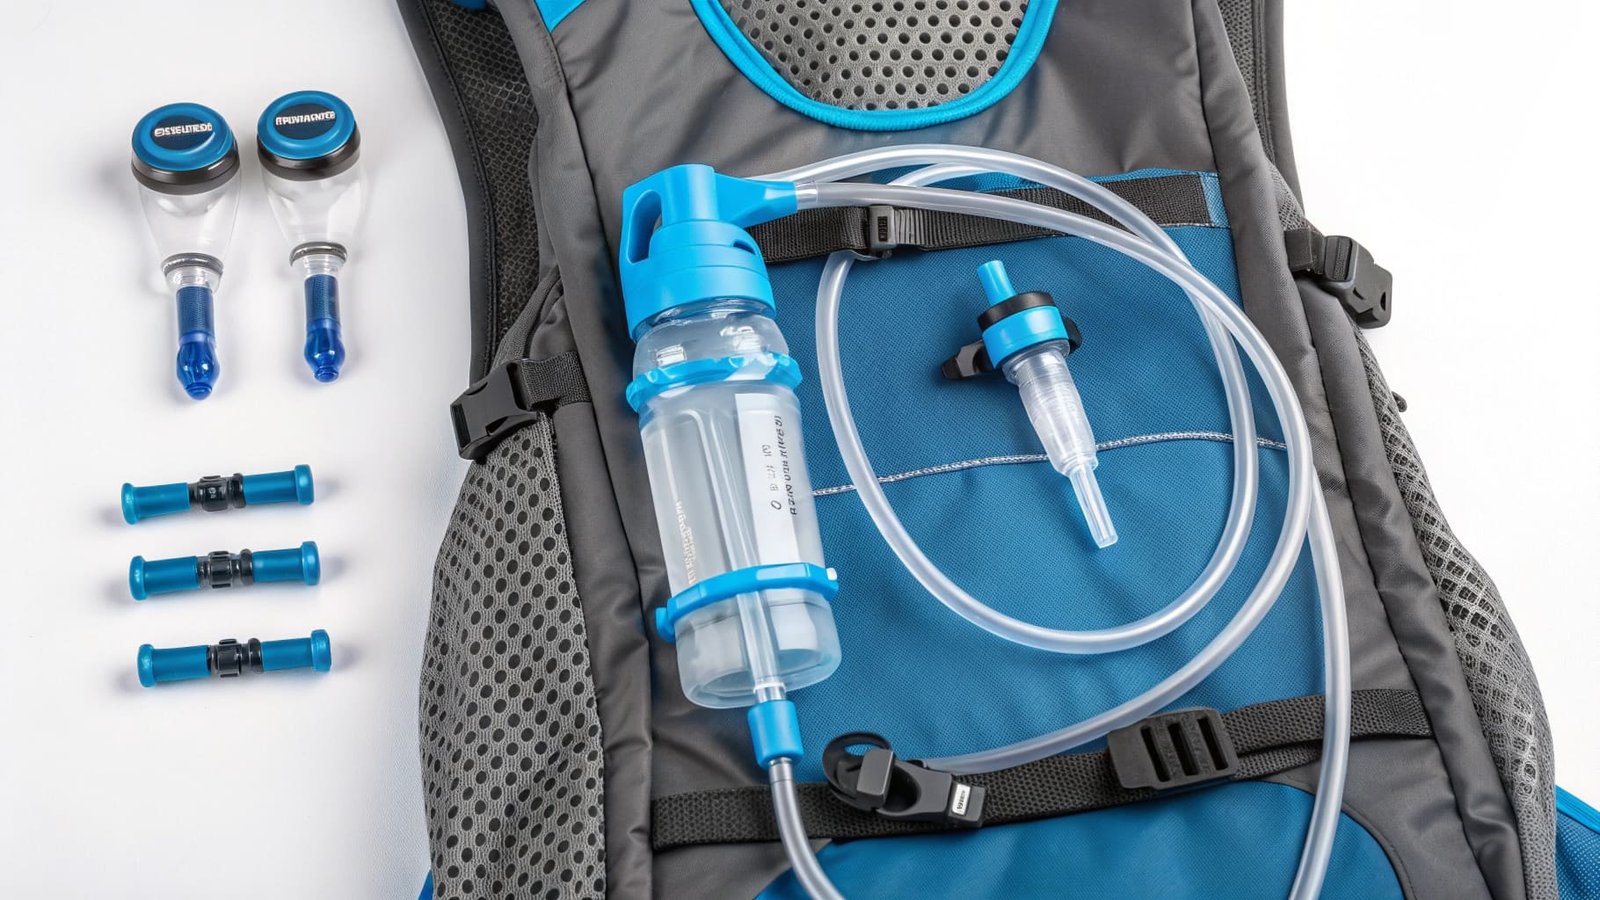
The best cleaning happens when users can take everything apart. My current design splits into three pieces. The outer sheath slides off first. The inner valve mechanism twists out second. The tube connector remains on the bladder. Each piece can be cleaned separately and thoroughly.
I made the sheath compatible with standard cleaning methods. It can go in the dishwasher on the top rack. It can soak in diluted bleach solution without degrading. It can withstand boiling water for sterilization. Users can scrub it with bottle brushes. The material does not absorb odors or stains.
The valve mechanism presents unique challenges. It has small moving parts that trap debris. I designed it with a split-body construction. Users push a small tab and the two halves separate. All internal surfaces become accessible for scrubbing. Reassembly is simple. The halves snap back together with an audible click.
Chemical resistance matters for international markets. European customers often use descaling solutions with citric acid. North American users prefer vinegar or mild bleach. Some Asian markets use hydrogen peroxide. My silicone formulation remains stable with all these solutions. The material does not swell, crack, or change properties after repeated exposure.
I created a test protocol for cleaning durability. Each sample goes through 100 cleaning cycles. Each cycle includes dishwasher exposure, chemical soaking, and mechanical scrubbing. After 100 cycles, the sample must still seal properly and show no visible degradation. Only designs that pass this test go into production.
The modular approach has another benefit. Users can replace individual components instead of the entire assembly. If the sheath wears out, they buy just the sheath. This reduces waste and saves money. It also means higher customer satisfaction4. People appreciate products designed for long-term use.
| Cleaning Method | Temperature | Chemical | Frequency | Component Compatibility |
|---|---|---|---|---|
| Dishwasher | 60-80°C | Detergent | After each use | All components |
| Bleach Soak | Room temp | 10% solution | Weekly | Sheath and mechanism |
| Vinegar Soak | Room temp | 50% solution | Weekly | All components |
| Boiling Water | 100°C | None | Monthly | Sheath only |
| Brush Scrub | Room temp | Mild soap | After each use | All components |
Conclusion
I built my business on learning from mistakes and listening to end-user needs. The right bite valve design combines easy removal, mold resistance, and simple cleaning to protect your brand reputation and reduce support costs.
-
Find out how antimicrobial materials can prevent mold growth and enhance product longevity. ↩
-
Explore this link to discover innovative designs that enhance user experience and hygiene. ↩
-
Learn about the benefits of medical-grade materials for safety and durability. ↩
-
Explore the connection between design features and customer loyalty. ↩