How to Remove Rubber Seals from Tumblers for Bulk Cleaning Operations?
Dirty seals ruin tumblers. For bulk operations, one bad cleaning workflow means hundreds of damaged products, angry customers, and costly returns.
Removing rubber seals from tumblers for bulk cleaning is simple. Use your fingertips to gently pull the seal from its groove, working around the full circumference. Avoid sharp tools. Then clean each seal separately with warm soapy water, rinse thoroughly, and air-dry completely before reassembling.
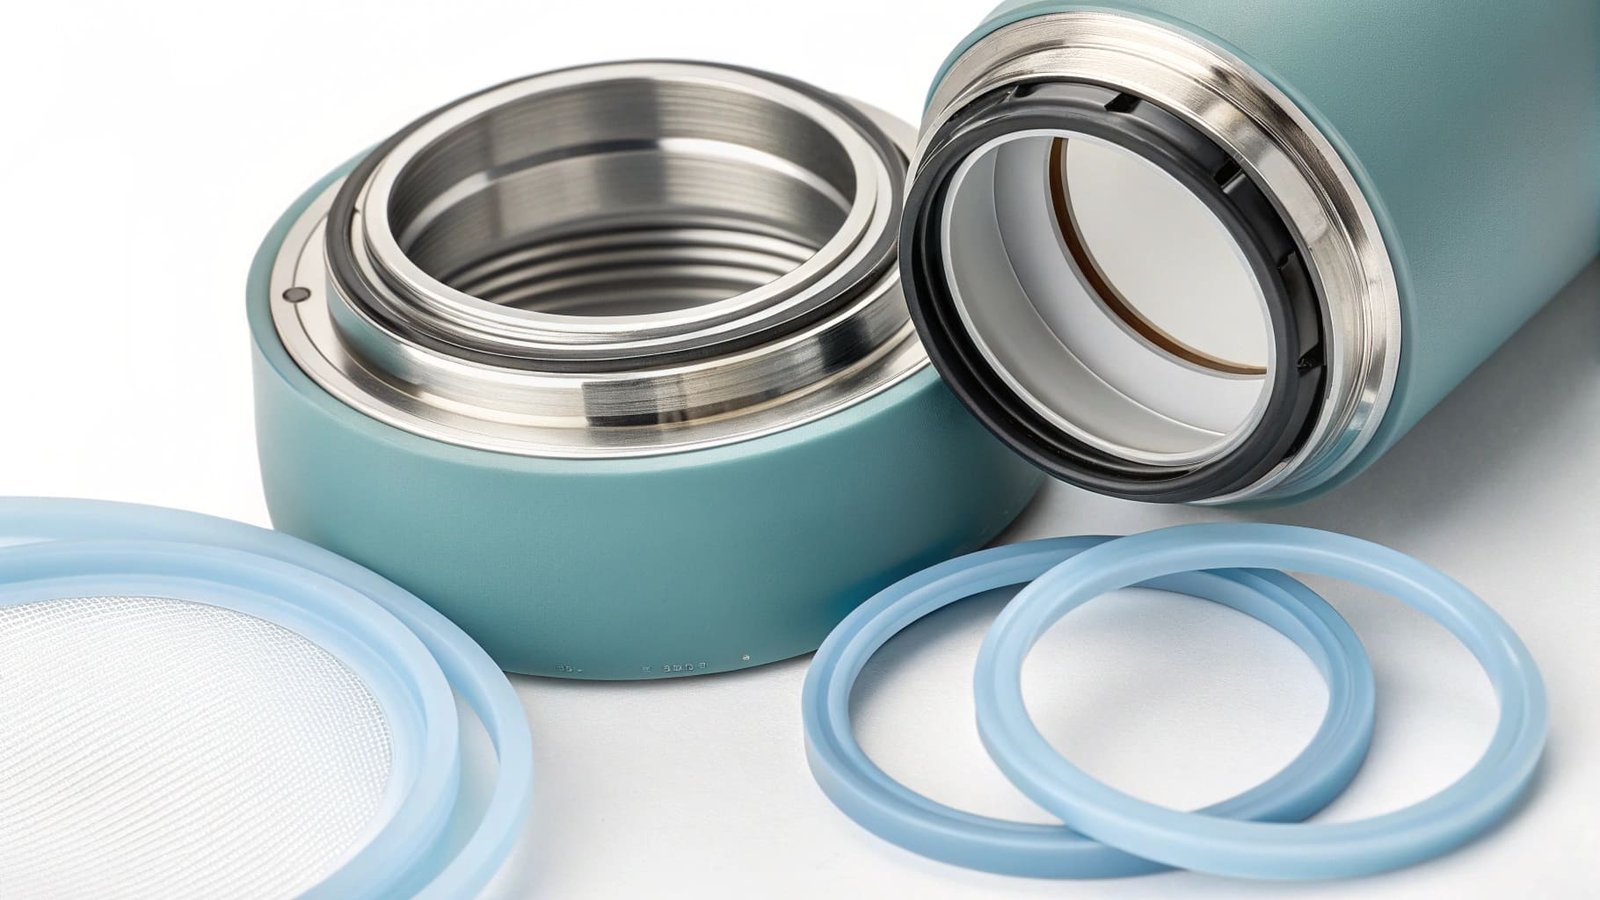
I have worked with many wholesale buyers who treat cleaning as an afterthought. They focus on price and shipping, then ignore maintenance entirely. That is a mistake. Seals are the part of a tumbler that fails first, and they fail faster when nobody cleans them properly. If you are buying tumblers in bulk to rebrand and resell, your reputation depends on how long those seals last. A leaking tumbler that reaches your customer is not a supplier problem anymore. It is your problem. So let me walk you through exactly what works.
How to Clean Tumbler Rubber Seals?
You bought a large shipment. Now you need a cleaning process that works at scale without destroying the seals.
Silicone seals should be removed before every deep clean.1 Wash them individually in warm soapy water or place them in a dishwasher-safe cycle. Rinse fully, then lay them flat to air-dry. Never reassemble while wet. Trapped moisture leads to mold and odor, which is the last thing your end customer wants.
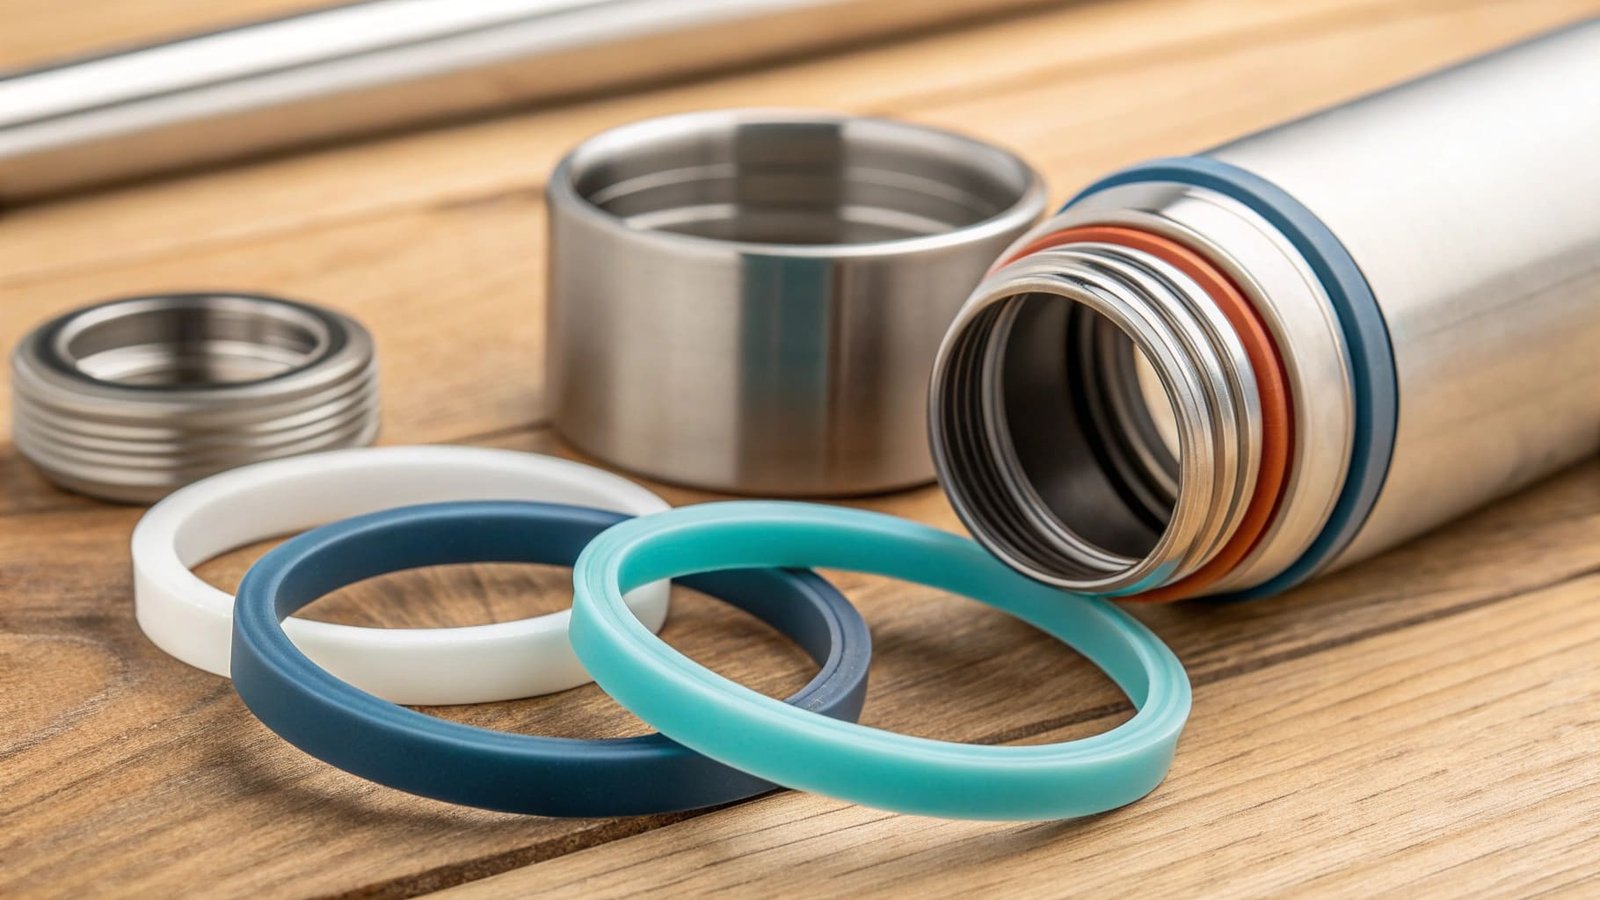
I have seen bulk buyers skip the removal step to save time. That always backfires. Water and soap cannot reach the area where the seal sits inside the groove. Bacteria build up in that gap over weeks. By the time the product reaches the end customer, the tumbler already smells. That is not a manufacturing defect. That is a maintenance failure.
Here is the process I recommend for bulk operations:
What Does a Step-by-Step Bulk Cleaning Protocol Look Like?
| Step | Action | Detail |
|---|---|---|
| Step 1 | Remove the seal | Use fingertips only, work around the full ring, never pull from one point |
| Step 2 | Separate all lid parts | Remove slider, seal, and main lid body completely |
| Step 3 | Clean each part individually | Warm soapy water or dishwasher-safe cycle |
| Step 4 | Rinse thoroughly | Make sure no soap residue remains in any crevice |
| Step 5 | Air-dry completely | Lay flat, do not stack wet parts |
| Step 6 | Inspect before reassembly | Check for tears, deformation, or discoloration |
| Step 7 | Reassemble carefully | Press the seal back into the groove evenly around the full circumference |
This protocol takes more time per unit upfront. But it cuts warranty claims significantly. In my experience, operations that skip step two and step six are the ones calling suppliers about seal failures three months later.
One more thing worth noting: silicone seals are designed to handle hundreds of removal and cleaning cycles2. The seal does not wear out from being cleaned. It wears out from being pulled too hard, cleaned with the wrong chemicals, or stored while still wet.3 Treat the material with basic care and it will last.
Can You Take the Rubber Seal Off a Yeti?
Yes, you can. But the real question for bulk buyers is whether this process is repeatable without causing damage at scale.
Yeti and most premium tumbler brands design their silicone seals to be fully removable.4 The seal sits in a groove around the inside of the lid. Gently press your finger under the edge of the seal and work it out slowly. No tools needed. Reassembly is the reverse: align the seal with the groove and press it in evenly.
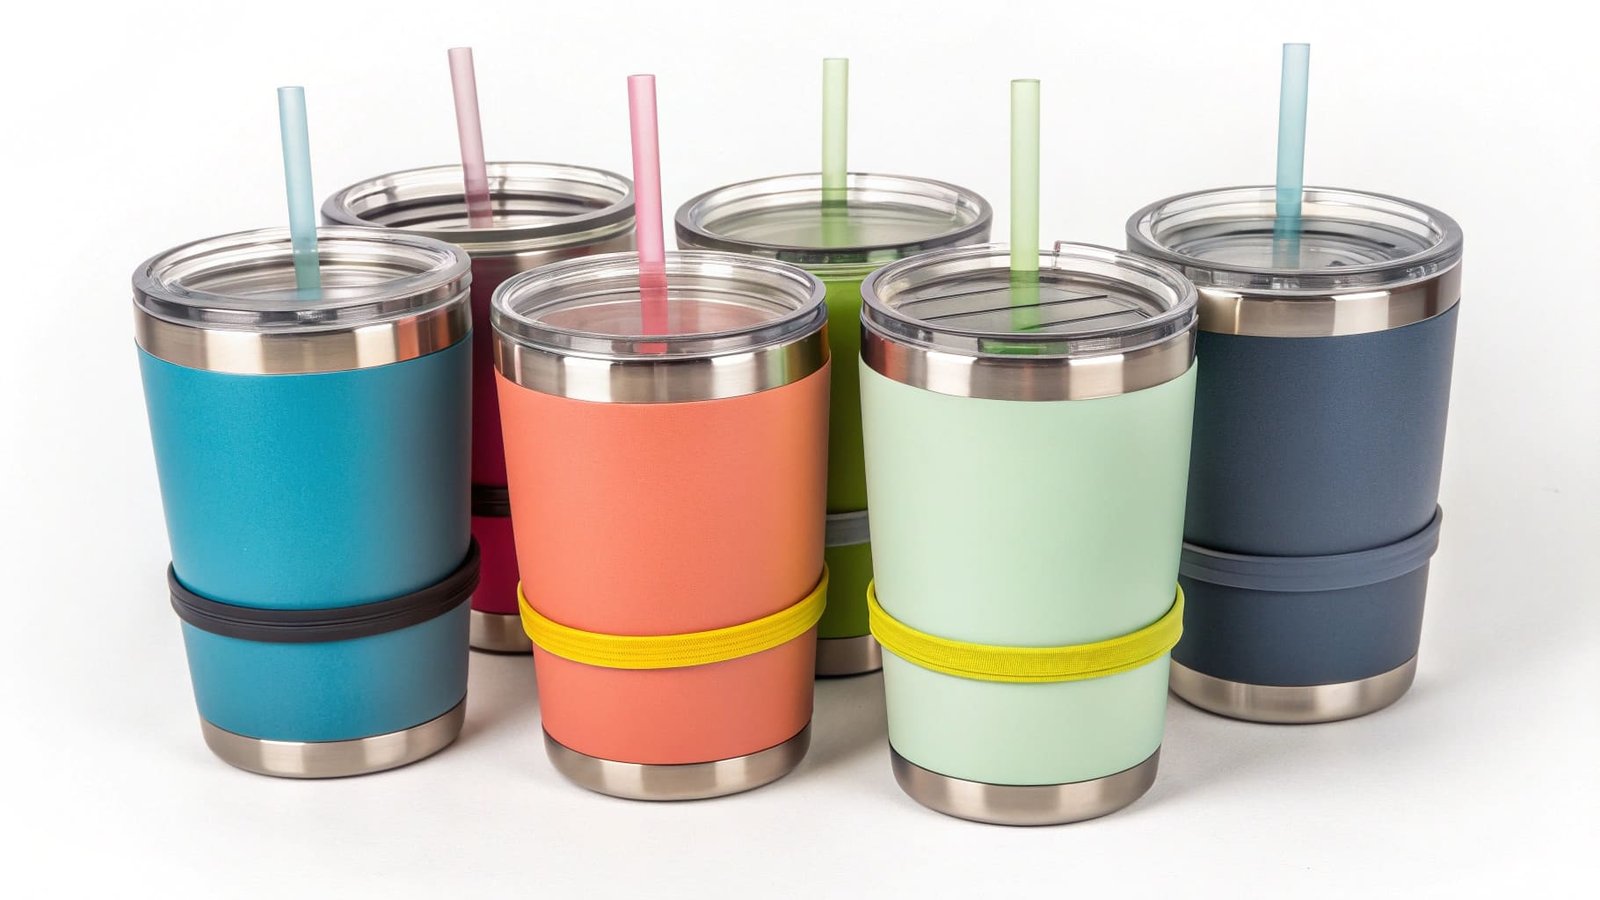
I use Yeti as an example because it is the brand most buyers in North America recognize. When a buyer tells me their customers expect Yeti-level quality, I know exactly what they mean. They mean a seal that stays tight, does not smell, and does not crack after six months of regular use.
Here is what separates a seal worth that comparison from one that is not:
What Makes a Silicone Seal Last as Long as Premium Brand Seals?
| Factor | Low-Quality Seal | High-Quality Seal |
|---|---|---|
| Material grade | Standard silicone | Food-grade silicone |
| Elasticity after repeated cleaning | Loses shape over time | Holds shape through hundreds of cycles |
| Chemical resistance | May degrade with dish soap | Resistant to common cleaning agents |
| Fit in groove | Loose after a few removals | Stays snug throughout product life |
| Certifications | Often missing or unverifiable | FDA, LFGB, or equivalent |
| Odor after use | May absorb food smells | Odor-resistant by material properties |
When I source seals for wholesale clients, I always ask suppliers for certification documents upfront. I have seen certificate fraud happen. A supplier shows you a clean-looking document, but the material does not match. That is why I request third-party lab test results, not just supplier-issued certificates. If a supplier cannot provide that, I move on.
For bulk buyers who are rebranding tumblers, the seal is the part your customer will touch and interact with every single day. It is not a secondary component. It is the part that either builds or destroys trust in your brand.
How to Properly Clean Tumbler Lids?
A tumbler lid has more parts than most people realize. Cleaning just the surface is not enough.
Most tumbler lids include at least three components: the main body, the slider or pour mechanism, and the silicone seal. Each part needs to be separated and cleaned individually. Bacteria and mold hide in the joints between parts, not on the outer surfaces.5
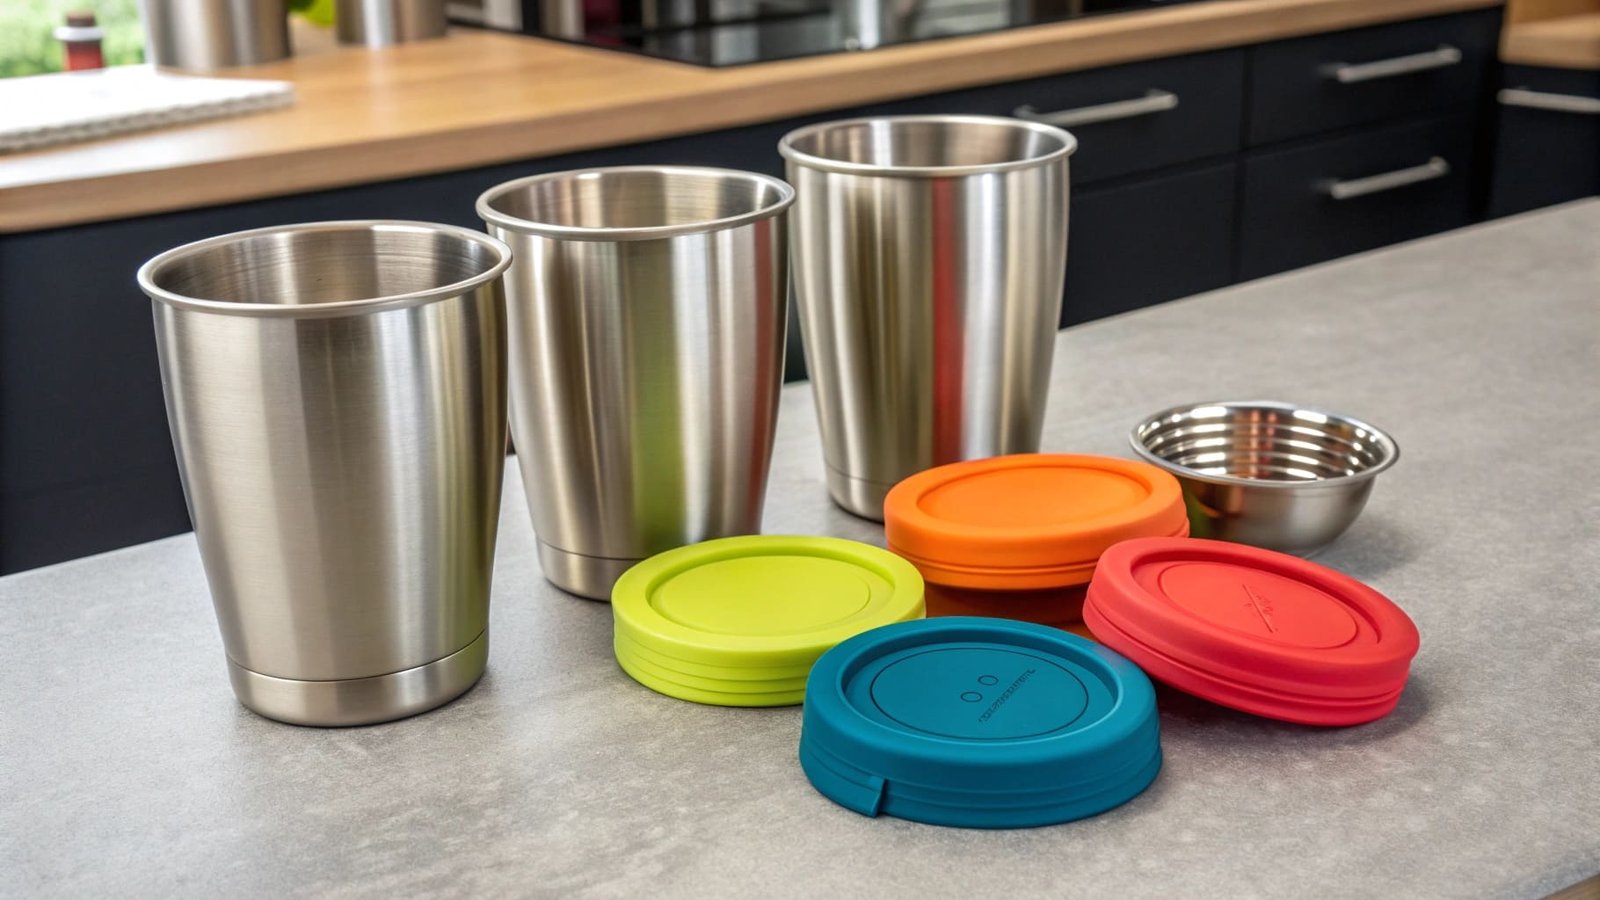
I started paying closer attention to lid design after a client came back to me with odor complaints. The tumblers were clean on the outside. The seals had been washed. But nobody had removed the slider mechanism. That small channel collects liquid every time someone drinks. Left uncleaned, it becomes a source of smell and bacteria within weeks.
Here is a breakdown of each lid component and how to handle it:
What Are the Components of a Tumbler Lid and How Should Each Be Cleaned?
| Component | How to Remove | Cleaning Method | Common Mistake |
|---|---|---|---|
| Silicone seal | Fingertip removal, work around full ring | Warm soapy water, air-dry flat | Pulling from one point, causing deformation |
| Slider mechanism | Slide to open position, press or lift to detach | Rinse under running water, use a thin brush | Leaving in place, missing liquid buildup inside channel |
| Main lid body | No removal needed | Submerge in soapy water, scrub all inner surfaces | Wiping exterior only |
| Hinge or locking point | Usually fixed, not removable | Use a soft brush to clean around the joint | Ignoring this area entirely |
For bulk cleaning operations, I recommend assigning one person to disassembly, one to washing, and one to inspection and reassembly. This keeps the workflow moving without rushing any step. Rushing is what causes seal damage.
Also, avoid bleach-based cleaners on silicone. Bleach weakens the material over time. Warm water and dish soap are enough for routine cleaning. For deeper sanitization, food-safe sanitizing solutions work well without breaking down the silicone structure.
If you are supplying tumblers to clients in hospitality, food service, or corporate gifting, proper lid maintenance is a point you should be teaching your buyers. Give them a simple care guide with every shipment. That one step reduces complaints and builds long-term trust in your brand.
Conclusion
Remove seals before every deep clean, disassemble lids fully, air-dry all parts, and source food-grade silicone from certified suppliers. These steps protect your brand.
-
"When and How to Clean and Disinfect Your Home", https://www.cdc.gov/hygiene/about/when-and-how-to-clean-and-disinfect-your-home.html. The FDA Food Code states that equipment and utensils should be disassembled as necessary for cleaning, which supports removing removable tumbler seals during deep cleaning. Evidence role: expert_consensus; source type: government. Supports: Food-contact equipment guidance commonly requires disassembly as necessary so that all surfaces can be cleaned.. Scope note: The source is general food-contact equipment guidance and does not specifically test tumbler lids. ↩
-
"Cyclic Compression Testing of Three Elastomer Types—A ... - PMC", https://pmc.ncbi.nlm.nih.gov/articles/PMC9002981/. Experimental studies of silicone rubber gaskets and elastomers describe their resistance to repeated deformation and compression set under controlled conditions, supporting the plausibility of repeated removal and cleaning cycles. Evidence role: mechanism; source type: paper. Supports: Silicone rubber has elastic and compression-set properties that can make it suitable for repeated sealing cycles.. Scope note: A source of this type would not by itself verify the exact claim of hundreds of cycles for a particular tumbler seal design. ↩
-
"A Brief Guide to Mold, Moisture and Your Home | US EPA", https://www.epa.gov/mold/brief-guide-mold-moisture-and-your-home. Elastomer materials research and chemical-compatibility data identify excessive mechanical strain and incompatible chemical exposure as causes of seal degradation, while public health sources identify retained moisture as a condition for microbial growth. Evidence role: mechanism; source type: research. Supports: Silicone seals can be damaged by mechanical stress, incompatible chemicals, and moisture-related microbial growth.. Scope note: This would combine evidence from several mechanisms rather than prove the relative contribution of each cause in tumbler use. ↩
-
"How To Deep Clean A Yeti Tumbler And Yeti Lid Properly - YouTube", https://www.youtube.com/watch?v=FQGcqxBVIGc. Yeti product-care documentation for its tumbler lids describes removable lid gaskets for cleaning, supporting the Yeti-specific portion of the removable-seal claim. Evidence role: case_reference; source type: other. Supports: Official product-care documentation should show that Yeti lid gaskets are removable for cleaning.. Scope note: Official Yeti documentation would not independently establish that most premium brands follow the same design. ↩
-
"Microbial Biofilms in the Food Industry—A Comprehensive Review", https://pmc.ncbi.nlm.nih.gov/articles/PMC7922197/. Hygienic-design guidance for food equipment identifies crevices, joints, and dead spaces as microbial harborage points, supporting the concern that lid joints can retain bacteria or mold. Evidence role: expert_consensus; source type: institution. Supports: Hygienic-design guidance identifies joints, crevices, and dead spaces as areas where residues and microorganisms can persist.. Scope note: The guidance concerns food-processing equipment broadly and is contextual for consumer tumbler lids. ↩