How to Use Hydration Bladders in Mass-Produced Outdoor Gear Product Lines?
I remember talking to a Canadian distributor last year. He bought 5,000 silicone bladder connectors from me. Six months later, he called back. His customers complained about leaks.
The issue was simple. He paired premium connectors with budget bladders. The size mismatch caused the problem. This taught me something important. Every component in a hydration system matters.

I run a B2B silicone component business in China. My clients often ask me about hydration bladder integration1. They want to add these systems to their outdoor gear lines. The question sounds simple. But the answer involves material science, production planning, and user behavior.
How to choose a hydration bladder?
You walk into a trade show. Fifty suppliers show you bladders. They all look the same. You feel lost. How do you pick the right one?
Choose based on material grade, production volume capability, and certification compliance. Medical-grade silicone offers the best durability. TPU provides cost advantages. Both need proper food-grade certifications for your target markets.
Material Considerations
I source silicone components for outdoor brands. The material choice affects everything downstream. Let me break this down for you.
Silicone bladders cost more upfront. They last longer. They do not hold flavors or odors. I see brands use them for premium lines. The price point sits 30-40% higher than TPU. But the return rate drops significantly.
TPU bladders dominate mid-range products. They weigh less. They pack smaller. Production costs stay low at high volumes. I work with factories producing 10,000 units per run. The per-unit cost becomes very attractive.
Here is what I learned from my procurement officer clients:
| Material | Price Range | Durability | Target Market | Minimum Order |
|---|---|---|---|---|
| Medical-grade silicone | $8-15 per unit | 5+ years | Premium outdoor gear | 1,000 units |
| Food-grade TPU | $3-7 per unit | 2-3 years | Mid-range products | 3,000 units |
| Hybrid construction | $5-10 per unit | 3-4 years | Value-conscious brands | 2,000 units |
Certification matters more than you think. I deal with exports to America and Europe. Both markets require specific compliance. FDA approval for the US. LFGB for Germany. Your supplier must provide these. No exceptions.
I always ask my clients about their distribution channels. A premium camping brand needs different specs than a budget outdoor retailer. The material choice flows from that answer.
How to attach a hydration system to a ruck?
Your customer opens the box. They see the bladder. They see the pack. They cannot figure out how to connect them. You just lost a five-star review.
Use standardized sleeve dimensions with flexible routing ports. Position the bladder vertically in a dedicated compartment. Route the tube through the left or right shoulder strap. Secure with clips or magnetic connections.
Design Integration Points
I work with outdoor gear startups. They always underestimate attachment complexity. The bladder and pack must work as one system.
The internal sleeve design determines user experience. Most modern packs use a 12-15 inch sleeve width. The depth runs 2-3 inches. This fits bladders from 1.5 to 3 liters. I recommend universal compatibility in your specs.
Tube routing creates the biggest headache. I see three common approaches in the market:
The first uses grommets on the shoulder strap. Simple but effective. The tube exits near the collarbone. Easy access. Low production cost.
The second adds internal channels. The tube runs inside the pack fabric. Cleaner look. Higher manufacturing complexity. I only suggest this for premium lines.
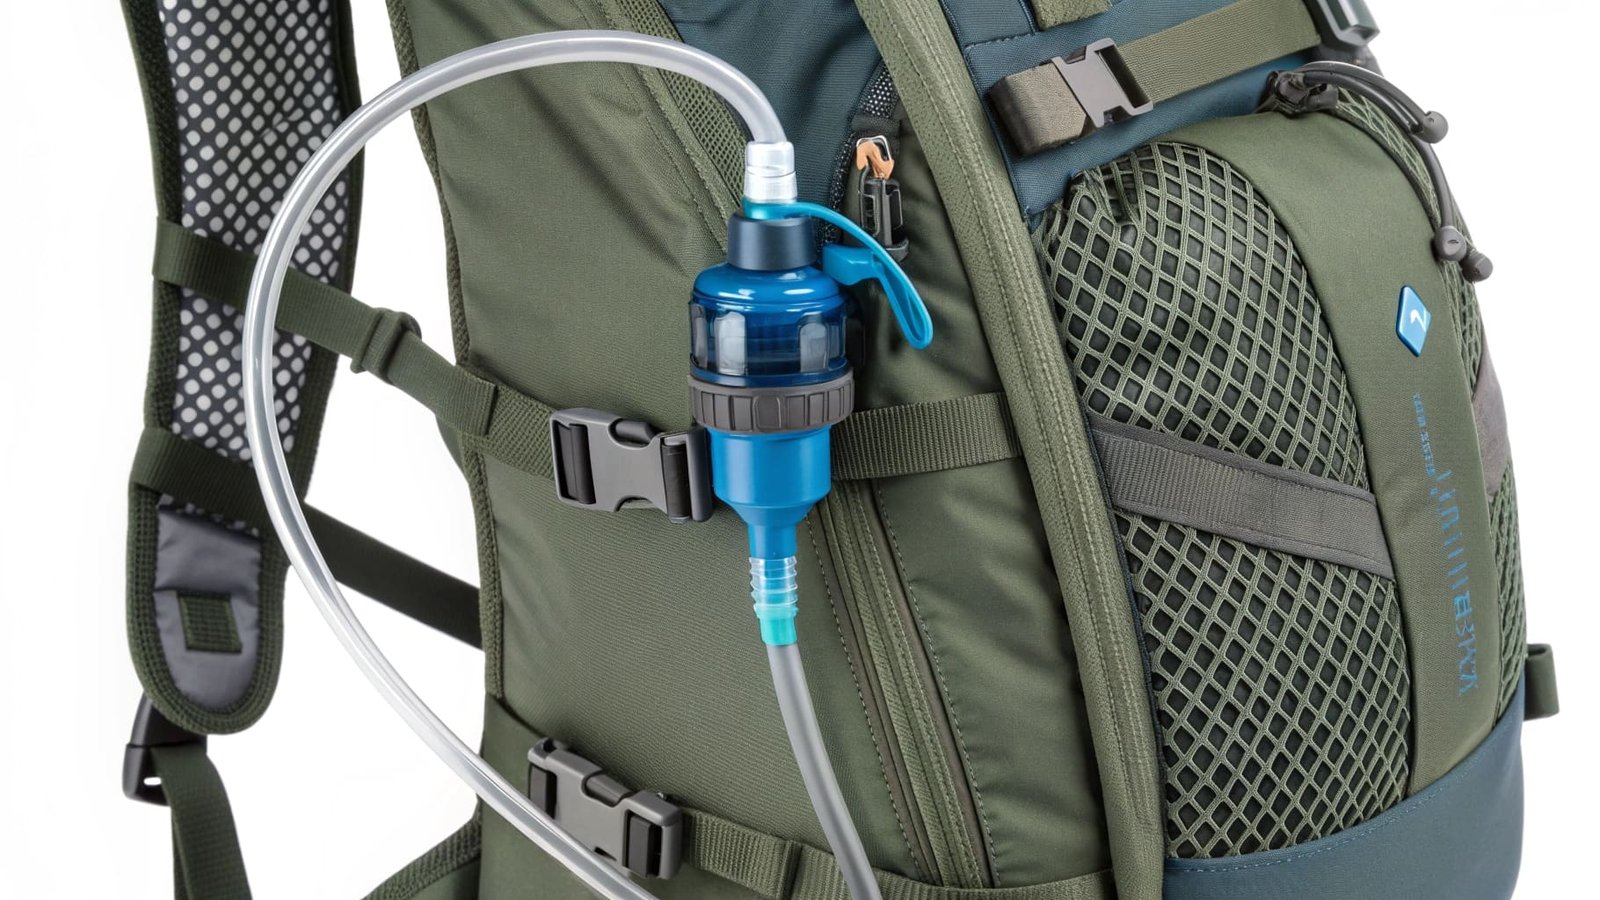
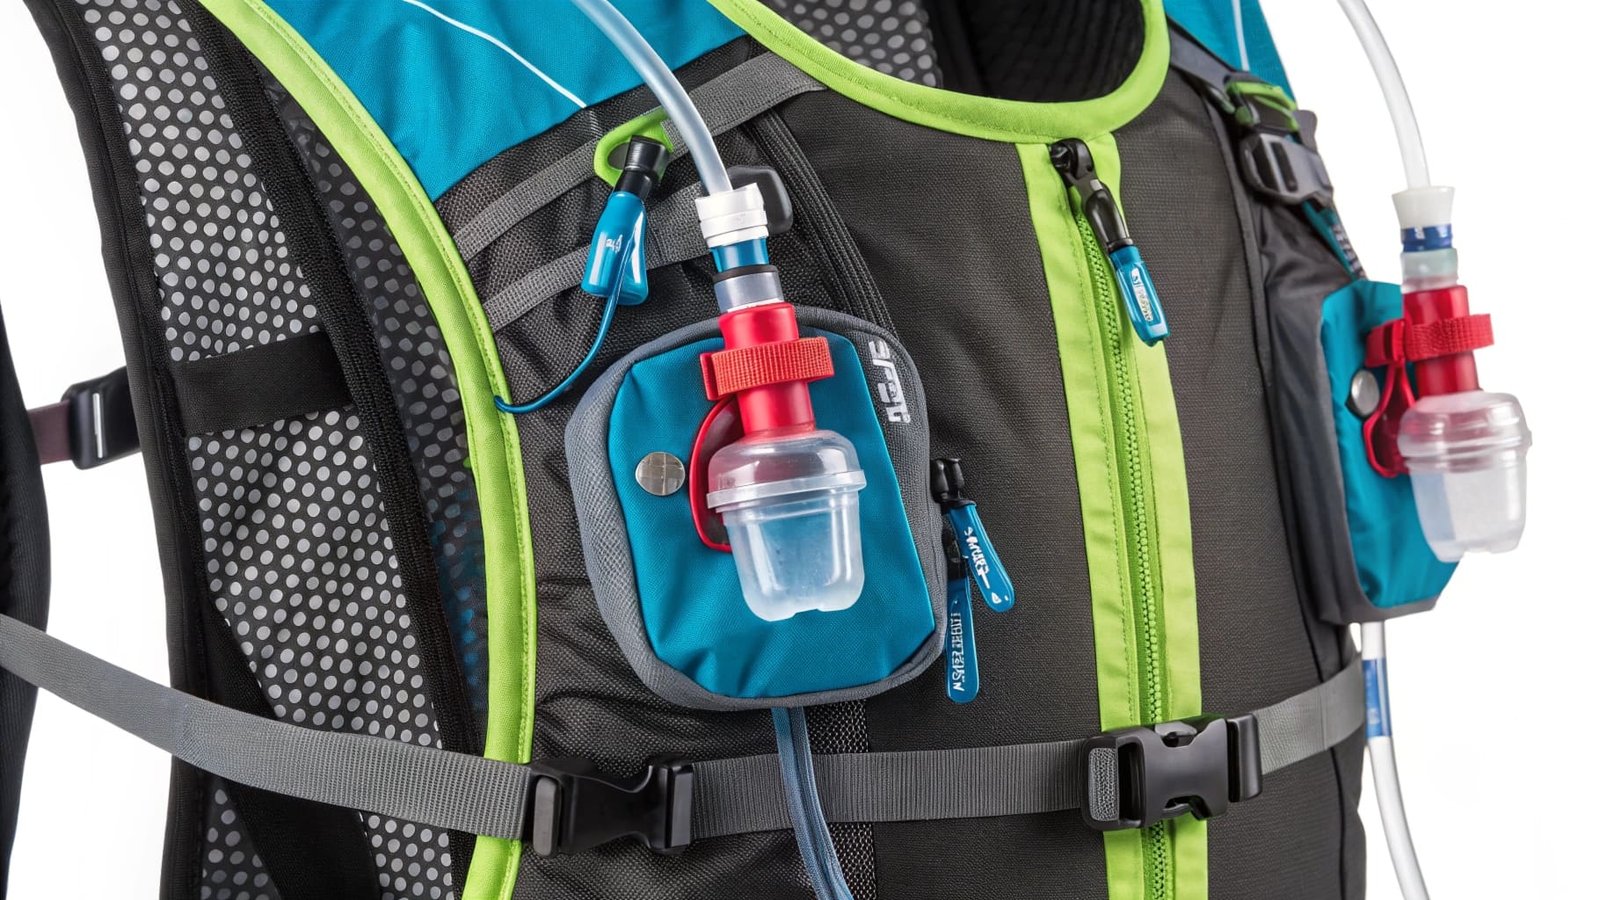
The third offers magnetic clips. The tube attaches to the strap exterior. Users can detach quickly. This works well for hydration bladders with silicone bite valves2. I supply these valves to several brands.
A Canadian client taught me something valuable. He said his customers often switch between packs. They want one bladder for multiple uses. This insight changed my component design approach.
Mounting Point Specifications
| Mounting Style | Installation Time | User Flexibility | Production Cost Impact |
|---|---|---|---|
| Fixed sleeve only | Under 1 minute | Low | Minimal |
| Sleeve + routing clips | 2-3 minutes | Medium | +$0.50-1.00 per unit |
| Full integration system | 5+ minutes | High | +$2.00-4.00 per unit |
I always tell my clients to test with actual users. Send prototypes to real outdoor enthusiasts. Their feedback matters more than any engineering spec.
How long can you leave water in a hydration bladder?
A distributor called me once. His customer left water in a bladder for three weeks. The water smelled bad. The customer blamed the bladder quality. The distributor blamed me.
Store water safely for 3-7 days in properly certified bladders. This assumes you use clean source water and keep the system sealed. Empty and dry the bladder completely after each use for maximum longevity.

Storage Duration Factors
I learned about water storage the hard way. Material certification alone does not guarantee safe storage. Multiple factors interact.
The material composition sets the baseline. Medical-grade silicone resists bacterial growth better than standard TPU. I see test results regularly. Silicone bladders maintain water quality for 5-7 days. TPU bladders show similar results but with more variation between manufacturers.
Temperature affects everything. Water stored at room temperature develops bacteria faster. A client in Australia taught me this. Summer temperatures there reach 35-40 degrees Celsius. His customers complained about water taste after just 2 days. We added antimicrobial treatment to his order. Complaints dropped by 80%.
The initial water quality matters most. I tell all my clients this. Clean source water lasts longer. Tap water with chlorine actually helps prevent bacterial growth. Stream water without treatment goes bad quickly.
Here is what industry testing shows:
| Storage Condition | Safe Duration | Risk Level | Recommended Action |
|---|---|---|---|
| Clean water, sealed, room temp | 3-5 days | Low | Standard use |
| Clean water, sealed, refrigerated | 7-10 days | Very low | Extended trips |
| Stream water, untreated | 24 hours | High | Use immediately |
| Post-use, wet storage | 48 hours | Very high | Dry completely |
The drying protocol prevents most problems. I cannot stress this enough. Most quality complaints I see come from poor maintenance. Water sits in the bladder. Bacteria grow in the remaining moisture. The customer blames the product.
I now provide care instruction cards with all my silicone connector shipments. My clients include these with their bladders. Return rates dropped across the board.
One more thing about storage. The bite valve and connectors need attention too. I make silicon hydration bladder connectors. These small parts trap water. They need thorough drying. A quick rinse does not cut it.
Conclusion
Integrating hydration bladders into your product line requires attention to materials, attachment systems, and maintenance protocols. Start with proper material selection. Design for universal compatibility. Provide clear care instructions to end users.