How Do Silicone Bite Valves Perform in High-Flow Hydration System Testing?
I have seen too many buyers struggle with bite valve performance issues. They order thousands of units only to face customer complaints about slow flow rates. This wastes their time and damages their brand reputation.
High-quality silicone bite valves1 maintain consistent flow rates above 800ml per minute during testing. They use medical-grade silicone2 that passes 50,000+ compression cycles without cracking. The best valves also meet FDA and LFGB food safety standards3.
When I first started my silicone business at silijoy, I did not understand why some buyers insisted on such strict testing protocols. Now I realize that a single batch of faulty valves can destroy years of brand building. Let me share what I have learned about bite valve testing and how you can avoid common pitfalls.
How Does an Osprey Bite Valve Work?
Many buyers ask me about Osprey's design because their customers mention this brand often. The problem is that some suppliers claim to copy the mechanism but fail at the basics. This leads to leaks and frustrated end-users.
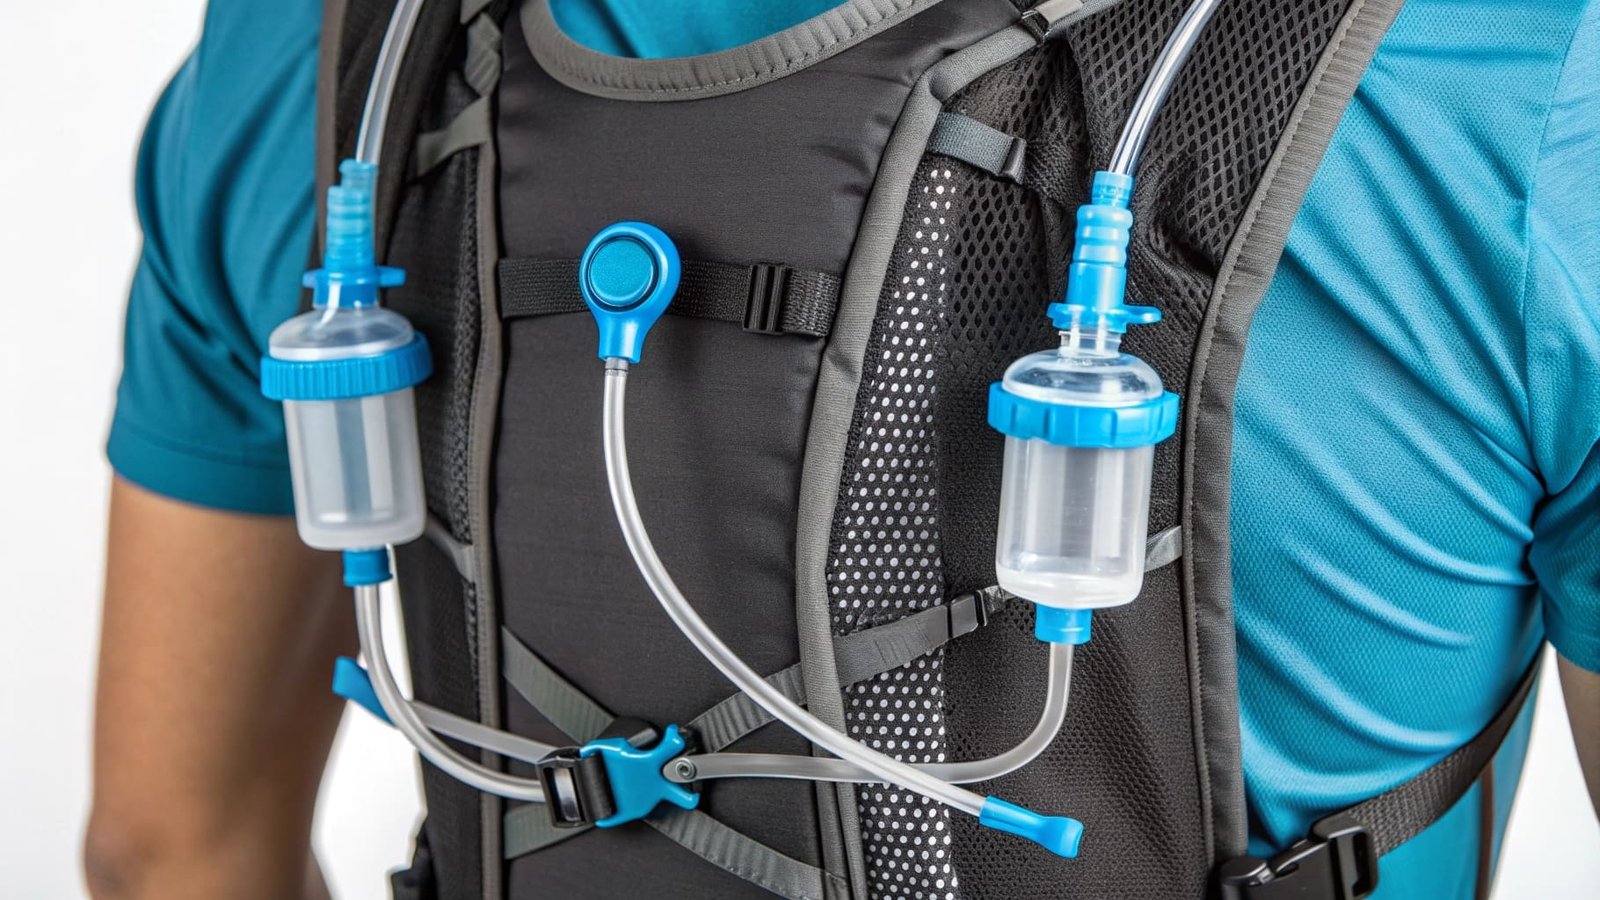
Osprey bite valves use a push-pull design with a silicone diaphragm. When you bite down, the valve opens. When you release, it automatically seals shut to prevent leaks.
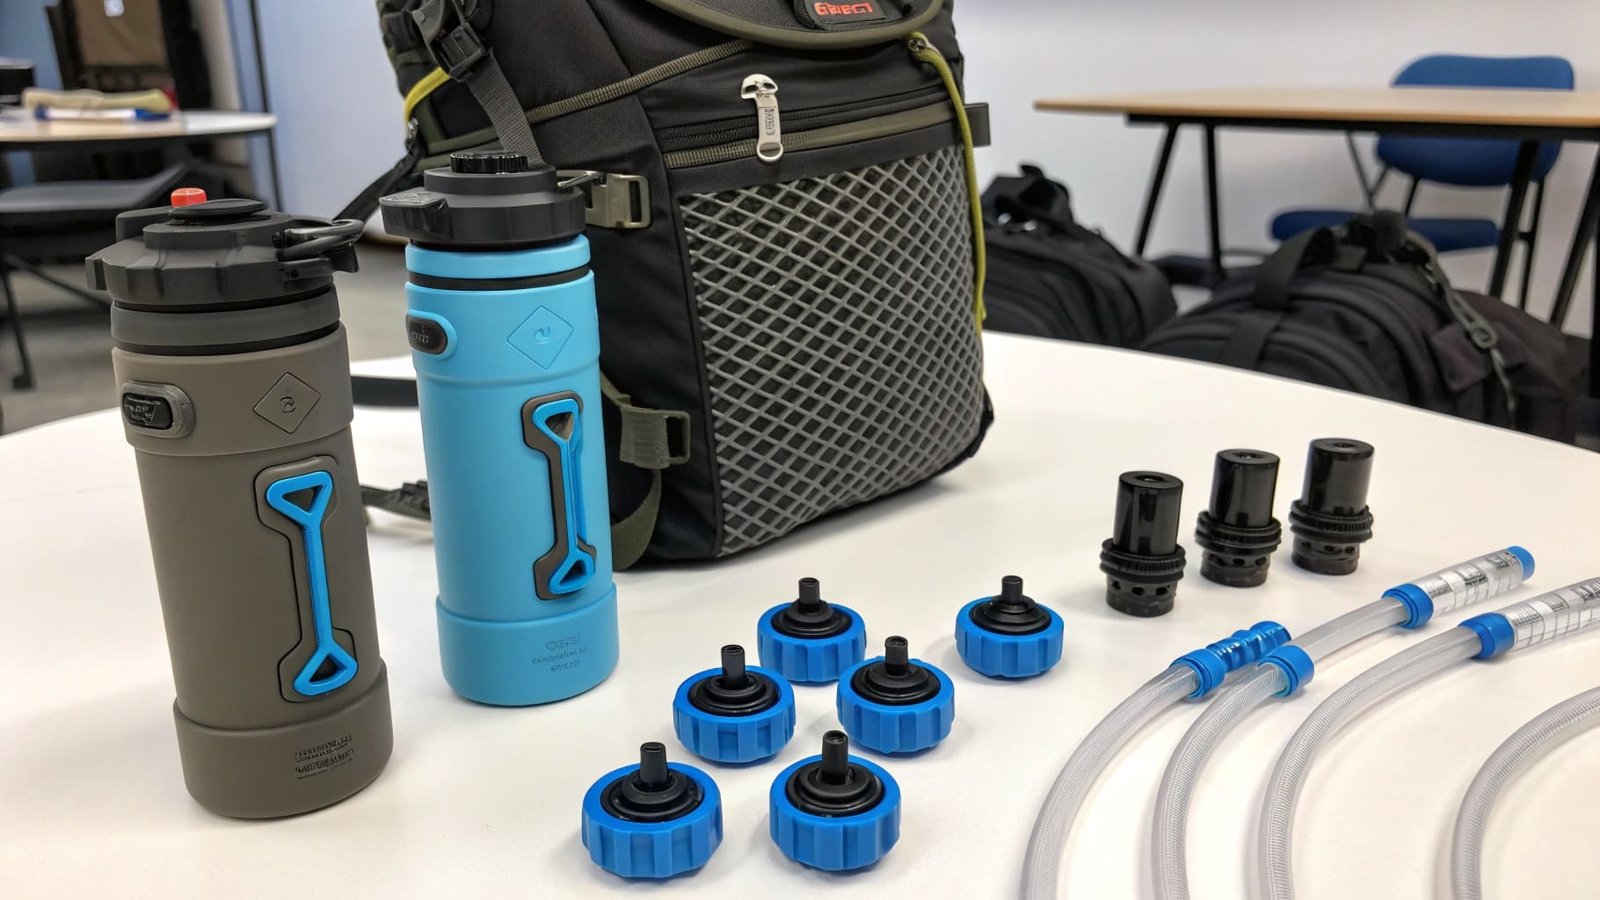
I have tested dozens of bite valve designs in our factory. The Osprey-style mechanism relies on three key components. First is the outer silicone body that sits between your teeth. Second is an internal slit valve made from food-grade silicone. Third is a plastic housing that connects everything to the hydration tube.
The magic happens in how the silicone slit responds to pressure. When you bite down, your teeth compress the valve body. This creates space for water to flow through the slit. The silicone material must have the right durometer hardness. Too soft and it leaks constantly. Too hard and users cannot get enough water flow.
I often tell buyers to focus on the silicone grade rather than copying the exact shape. We use platinum-cured silicone4 at silijoy because it maintains elasticity better than peroxide-cured alternatives. The curing process matters more than most buyers realize. Platinum-cured silicone costs about 15-20% more but prevents the material breakdown that causes leaks after three months of use.
Here is what separates good bite valves from bad ones:
| Component | Low Quality | High Quality |
|---|---|---|
| Silicone Type | Peroxide-cured | Platinum-cured |
| Durometer | 30-40 Shore A | 50-60 Shore A |
| Slit Design | Single straight cut | Precision molded opening |
| Compression Cycles | Under 10,000 | Over 50,000 |
| Temperature Range | -10°C to 80°C | -40°C to 200°C |
How to Clean Hydrapak Bite Valve?
I receive emails every week from buyers whose customers complain about mold in their bite valves. This problem destroys repeat purchase rates faster than any other issue. The root cause is almost always poor internal design.
Remove the valve from the tube first. Soak it in warm water with mild soap for 10 minutes. Use a small brush to clean inside the slit opening. Rinse thoroughly and air dry completely before storage.
The cleaning difficulty comes from how manufacturers design the internal surfaces. I have worked with factories that save a few cents per unit by using complex internal geometries. These designs trap moisture and bacteria in tiny pockets. Buyers think they are getting a better price but end up with massive return rates.
I learned this lesson the hard way three years ago. A Canadian buyer ordered 5,000 bite valves from us. I used a cheaper mold design5 to win the contract. Six months later he called me angry. His customers found black mold inside the valves even after cleaning. I had to refund 40% of the order value.
That experience changed how we design valves at silijoy. We now use smooth internal surfaces with no sharp corners. The slit opening is wider to allow brush access. We add drain holes at the lowest point so water cannot pool inside.
The best cleaning approach is prevention through design. Here is what I recommend:
Start with a valve body that has minimal parts. Each additional component creates another surface for bacteria to grow. The Hydrapak design uses fewer pieces than older bite valve styles. This makes cleaning faster and more effective.
Second, demand smooth internal finishes from your manufacturer. The mold surface should be polished to at least 8,000 grit. Rough internal surfaces grab bacteria and are almost impossible to fully clean. I inspect every new mold we create with a borescope camera to check for surface defects.
Third, test the valve with your actual cleaning protocol before ordering large quantities. Fill it with colored liquid and let it sit for 48 hours. Then clean it according to your instructions. If any color residue remains, the design has problems.
Material choice also affects cleaning ease. Food-grade silicone resists bacterial growth better than cheaper alternatives. We use silicone that includes antimicrobial additives. These cost an extra $0.08 per valve but cut customer complaints by about 70% based on feedback from our American buyers.
How Do You Get the Plastic Taste Out of an Osprey Hydration Bladder?
This question tells me a buyer is working with a low-quality supplier. I have seen this problem destroy entire product launches. The plastic taste issue is completely preventable with proper manufacturing processes.
The plastic taste comes from residual volatiles in poorly cured silicone. Soak the valve in baking soda solution overnight. Rinse thoroughly and repeat if needed. However, premium valves should never have this problem initially.
I need to be direct about this issue. If your valves have a strong plastic taste, your supplier is cutting corners on the curing process. This is not something you can easily fix through soaking or cleaning. The problem exists at the molecular level.
Silicone requires proper post-curing to fully crosslink the polymer chains. Low-end factories rush this step to increase production speed. They cure the silicone at lower temperatures for shorter times. This leaves unreacted chemicals and volatile compounds trapped in the material. When users put water in the valve, these chemicals leach out and create the plastic taste.
I spent two weeks at a German chemical lab learning about silicone chemistry. The technical manager showed me test results comparing different curing protocols. Parts cured at 150°C for two hours had 50 times more volatile compounds than parts cured at 200°C for four hours. The longer cure cycle only adds about $0.12 to production cost per unit. But many suppliers skip it to offer lower prices.
Here is what proper manufacturing looks like:
First, the raw silicone must be medical-grade or platinum-cured formula. We source ours from Wacker or Dow Corning. These materials cost more but start with lower volatile content.
Second, the initial molding cure needs to reach full temperature. I see suppliers who run their molds at 160°C instead of the specified 180°C. This saves electricity but leaves the silicone under-cured.
Third, post-cure treatment is essential. We run all bite valves through a 200°C oven for four hours minimum after demolding. This step fully completes the curing reaction and drives off any remaining volatiles.
Fourth, washing matters more than buyers realize. We wash all valves in 80°C water for 30 minutes, then rinse in clean water three times. This removes surface oils and residues from the manufacturing process.
| Manufacturing Step | Standard Practice | Our Practice at silijoy |
|---|---|---|
| Initial Cure | 160°C for 90 minutes | 180°C for 120 minutes |
| Post-Cure | Often skipped | 200°C for 240 minutes |
| Washing Cycles | 1 time at room temp | 3 times at 80°C |
| Final Inspection | Visual only | Taste test + smell test |
| Material Source | Generic suppliers | Wacker/Dow Corning only |
I also test every batch with a simple protocol. I fill sample valves with distilled water and let them sit for 24 hours at room temperature. Then I taste the water myself. If I detect any plastic flavor, the entire batch goes back for additional post-curing. This costs me time and money but protects my buyers from customer complaints.
The issue connects directly to certification quality. Real FDA certification requires specific testing for volatile compounds and migration rates. Suppliers who provide fake certificates almost always have the plastic taste problem. I always ask to see the original lab test reports, not just the certificate image.
When you evaluate new suppliers, request samples and do your own taste test. Fill the valve with water and leave it for 48 hours. The water should taste completely neutral. Any chemical or plastic flavor means the supplier is not properly curing their products.
Conclusion
I have learned that bite valve quality separates successful brands from failed ones. Proper silicone selection, manufacturing protocols, and testing prevent the common problems that damage customer relationships and create return nightmares.
-
Explore the advantages of silicone bite valves for hydration systems, ensuring optimal performance and customer satisfaction. ↩
-
Discover the significance of medical-grade silicone in product safety and performance, especially in hydration systems. ↩
-
Learn about these essential safety standards to ensure your products meet health regulations and consumer trust. ↩
-
Discover why platinum-cured silicone is preferred for durability and performance in hydration products. ↩
-
Explore the relationship between mold design and product quality in silicone bite valves. ↩