How to Implement First Article Inspection Protocols for Silicone Tumbler Boot Orders?
I used to ship orders without proper First Article Inspection. Returns flooded back within weeks. The costs nearly killed my business. Now I never skip FAI protocols.
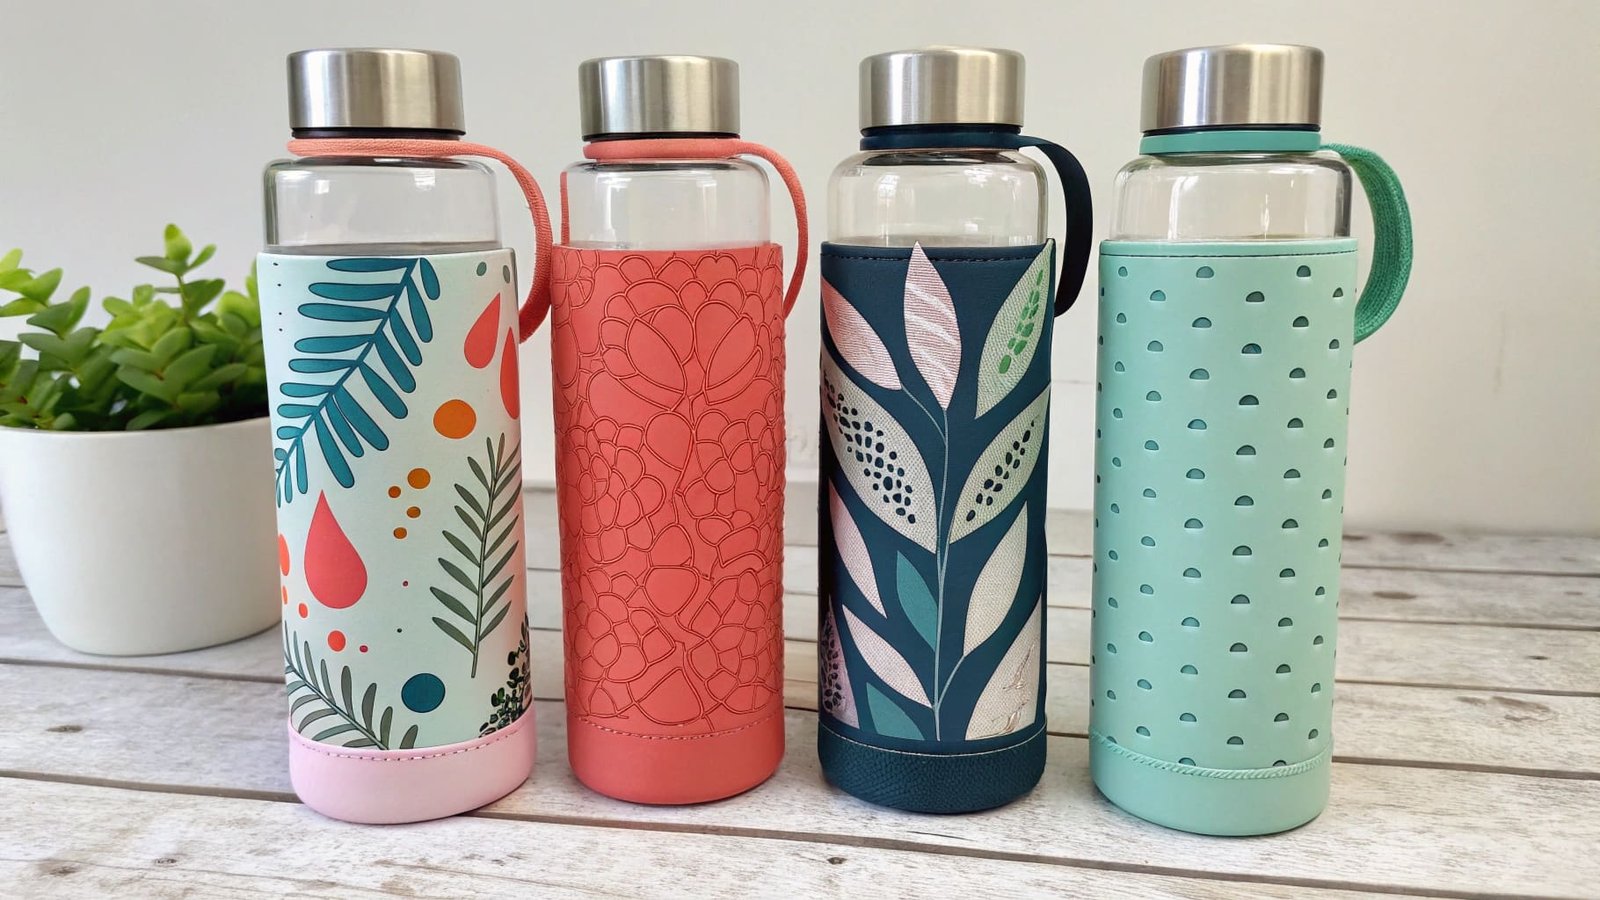
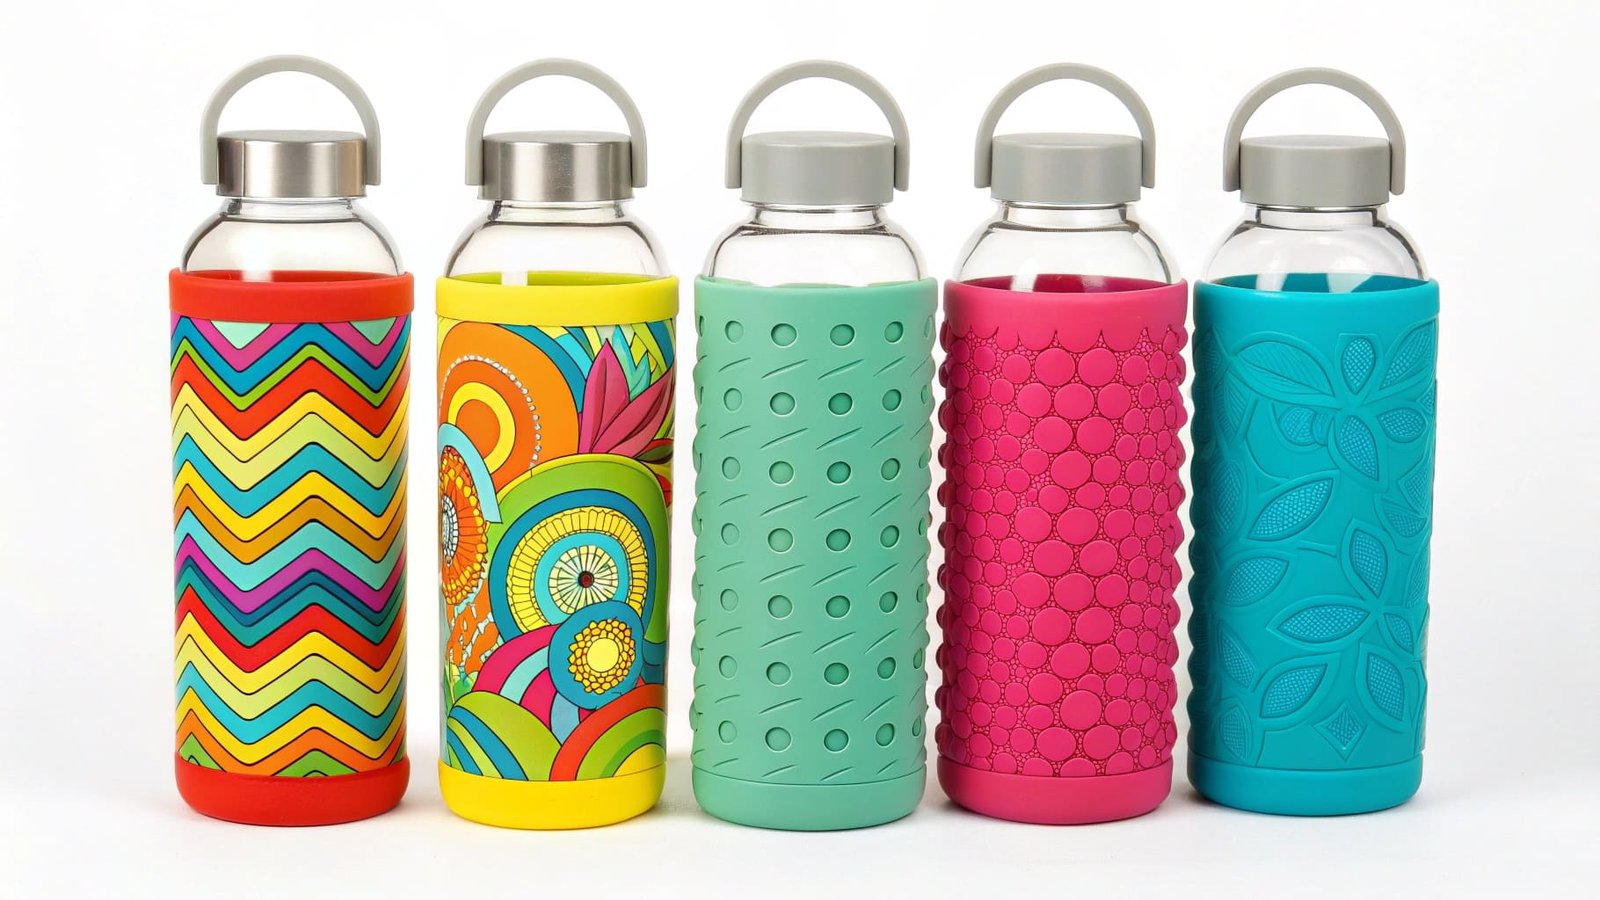
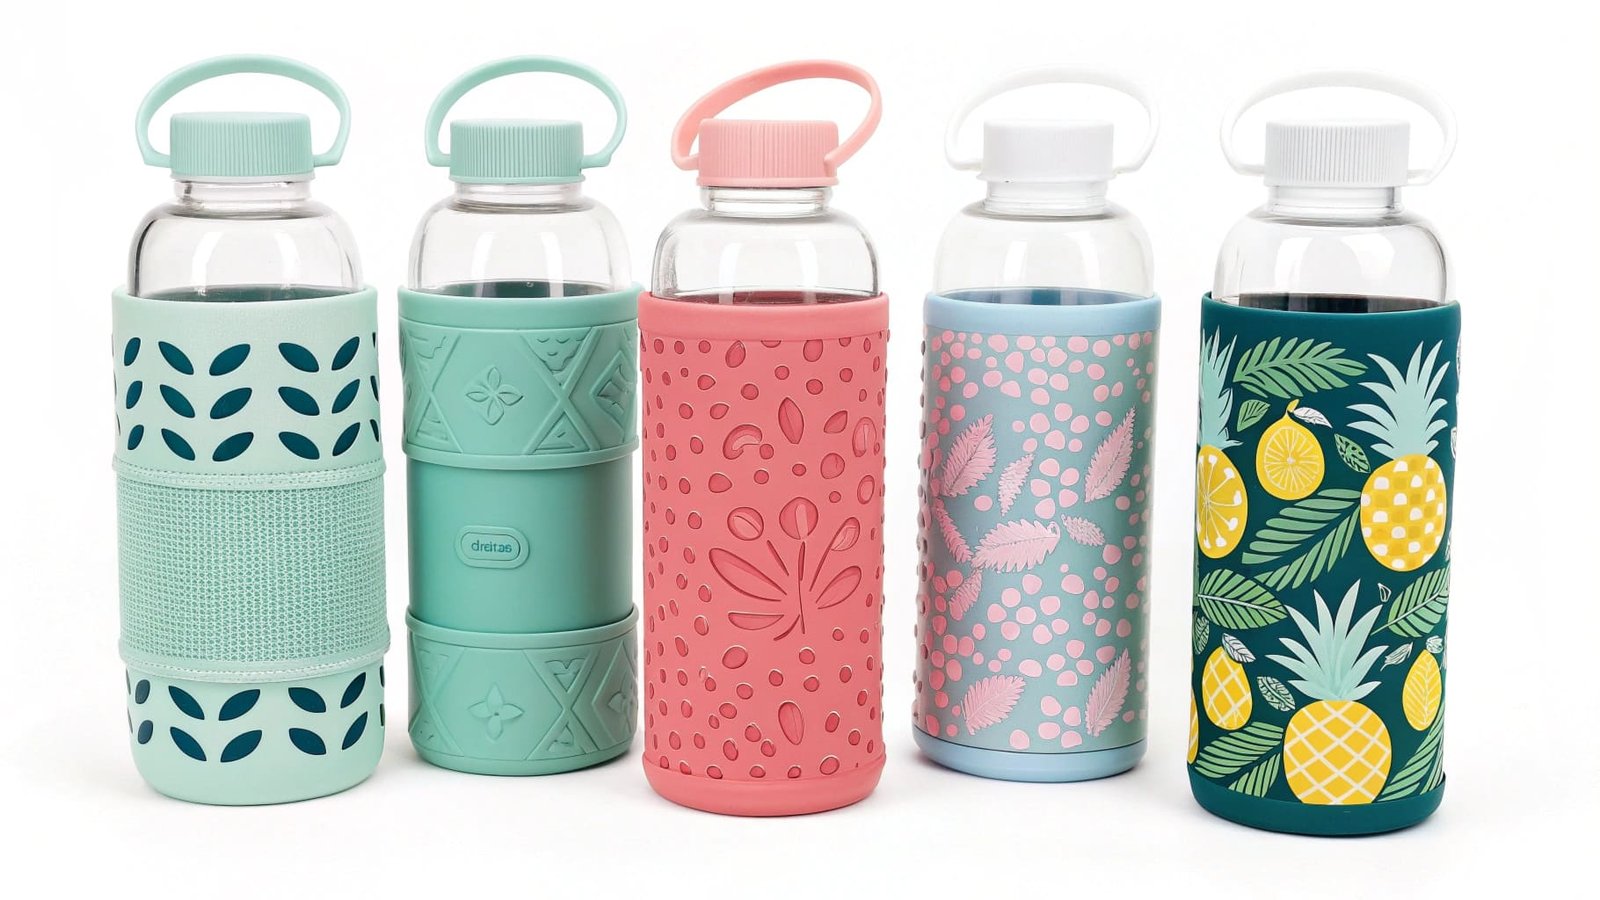
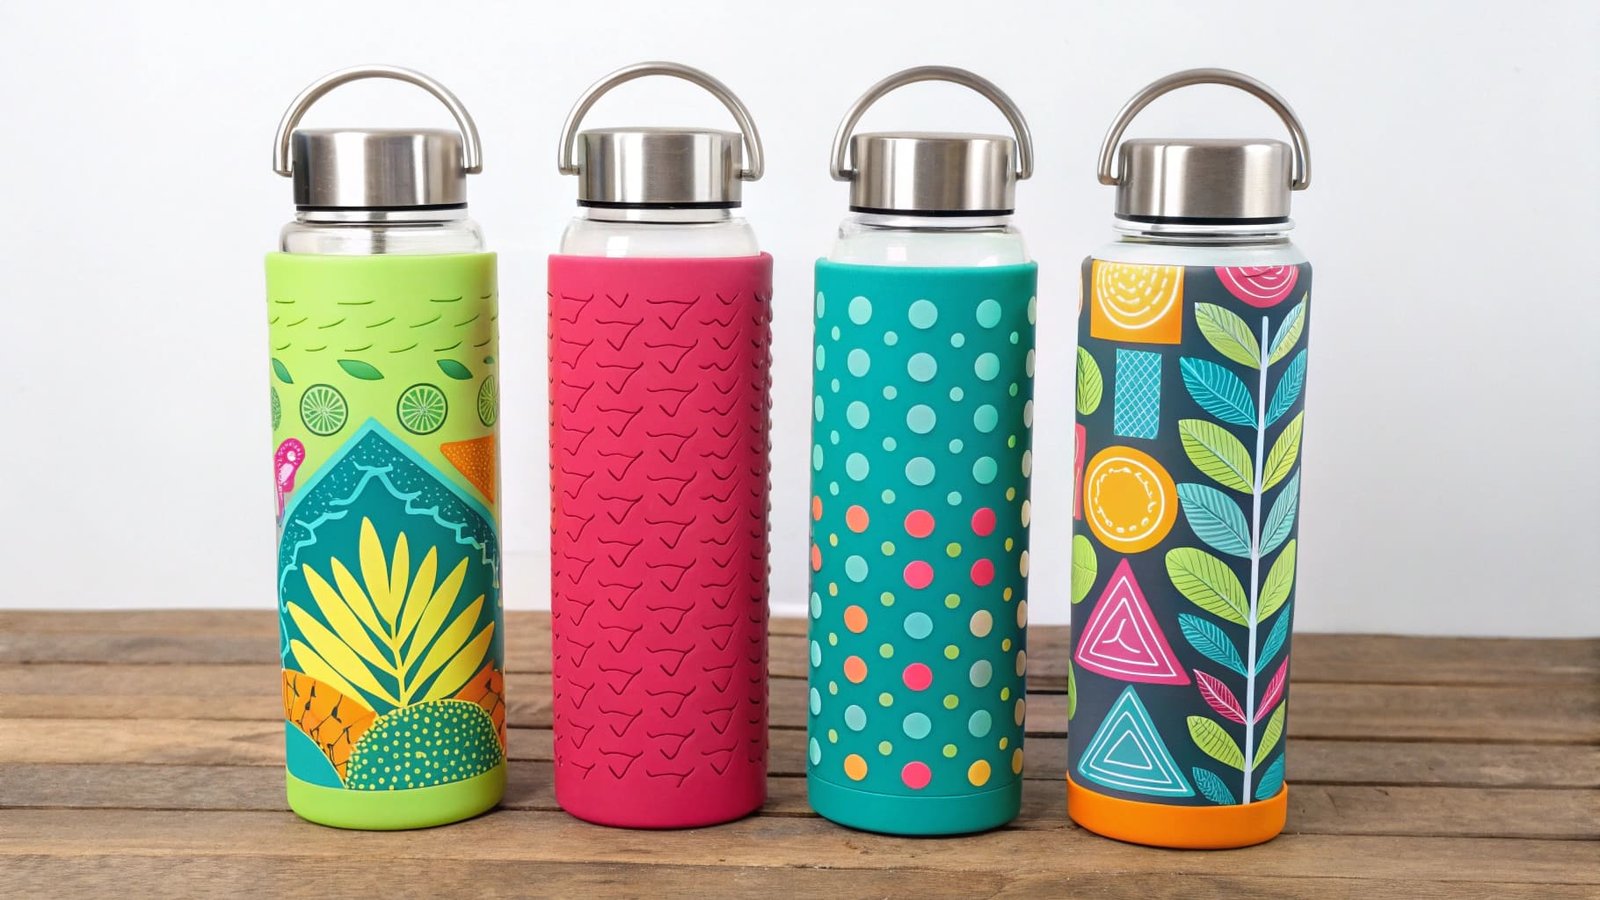
First Article Inspection for silicone tumbler boots requires three checkpoints: dimensional accuracy testing, heat resistance validation, and curing process verification1. These prevent costly returns and protect your brand reputation.
I learned this lesson the hard way. My first major order looked perfect in photos. But when customers installed the boots, half wouldn't fit properly. I spent months fixing that mistake. Now I share what works.
How do you calculate your boot size?
Boot sizing errors destroy customer trust fast. I once accepted a supplier's measurements without verification. Every single boot in that batch was too loose. The tumblers slipped right out.
Calculate boot size by measuring tumbler's widest diameter, adding 2-3mm for silicone thickness, and factoring in 10-15% stretch capacity. Always test physical samples on actual tumblers before approving production.
The math behind proper boot sizing requires more than basic measurements. I start by identifying the tumbler's maximum diameter point. This is usually at the widest part of the body. Then I measure the exact circumference at that point.
Next comes the critical part. I add the material thickness allowance2. For standard silicone tumbler boots, this means adding 2-3mm to account for the silicone wall thickness. But thickness alone doesn't tell the full story.
Silicone stretches naturally. This is both a benefit and a challenge. I need boots that grip firmly without requiring excessive force during installation. The sweet spot is 10-15% stretch capacity.
Here's my verification process:
| Measurement Step | Method | Acceptable Range |
|---|---|---|
| Base Diameter | Digital calipers | ±0.5mm |
| Stretch Test | Manual installation | 10-15% expansion |
| Grip Strength | Pull test | No slippage under 5kg force |
| Wall Thickness | Micrometer | ±0.3mm |
I always request sample boots in three sizes: minimum, middle, and maximum from the production range. Then I test each one on corresponding tumbler sizes. The boot should slide on with moderate effort. It should grip firmly once in place. And it should not deform the silicone material during installation.
Can 100% silicone withstand heat?
Heat damage claims were my nightmare for months. Customers complained about warped boots after using hot coffee. My supplier insisted their silicone was pure. But the boots told a different story.
Pure 100% silicone withstands temperatures from -40°F to 446°F without degradation. However, suppliers sometimes add fillers that reduce heat tolerance. Always conduct thermal cycling tests during FAI to verify actual performance.
I stopped trusting material certificates alone after that experience. Now I run my own heat tests during the First Article Inspection phase. The process is straightforward but reveals everything.
I take sample boots and expose them to extreme temperatures. First, I submerge them in ice water at 32°F for one hour. Then I immediately transfer them to boiling water at 212°F for another hour. I repeat this cycle three times.
After thermal cycling, I inspect every aspect of the boot. I look for discoloration. I check for surface cracks. I test for material softening or hardening. I verify that the boot still fits properly on the tumbler.
Here's what pure silicone should maintain:
| Property | Before Testing | After Thermal Cycling |
|---|---|---|
| Color Consistency | Original shade | No yellowing or darkening |
| Material Flexibility | Soft and elastic | Same elasticity maintained |
| Dimensional Stability | Original size | Less than 2% shrinkage |
| Surface Texture | Smooth finish | No cracking or roughness |
The most revealing test is the deformation check. I place a boot on a tumbler, fill it with boiling water, and let it sit for 30 minutes. A quality boot maintains its shape perfectly. A boot with fillers will show visible sagging or warping.
I also request batch testing documentation from suppliers. They should provide thermal stability reports showing temperature exposure ranges. But I never rely solely on their data. My own testing protects my business and my customers.
What happens if you get silicone wet before 24 hours?
A supplier once rushed my order by packaging boots early. The entire batch developed white spots within two weeks. They claimed moisture couldn't affect cured silicone3. But the evidence proved otherwise.
Premature moisture exposure during the 24-hour curing period causes surface defects, reduces material adhesion, and compromises long-term durability. Proper FAI protocols must verify complete curing before packaging and shipment.
The curing process is chemistry, not magic. Silicone undergoes cross-linking reactions that transform liquid material into solid rubber. These reactions require time, controlled temperature, and dry conditions.
I now inspect the supplier's curing facility during every new partnership. I check for temperature control systems. I verify humidity monitoring equipment. I ask to see curing logs that track each batch through the full 24-hour window.
The consequences of incomplete curing appear in several ways. Surface tackiness is the most obvious sign. The boot feels slightly sticky instead of smooth. This happens because the outer layer hasn't finished cross-linking.
Deeper problems emerge over time. Incompletely cured silicone has weaker molecular bonds. This leads to premature tearing, reduced stretch capacity, and faster degradation under heat exposure.
My FAI checklist for curing verification:
| Verification Point | What I Check | Red Flags |
|---|---|---|
| Curing Environment | Temperature logs | Fluctuations beyond ±5°F |
| Humidity Control | Dehumidifier operation | Readings above 60% |
| Batch Tracking | Individual batch cure times | Any batches under 24 hours |
| Post-Cure Testing | Surface tack test | Any stickiness detected |
| Storage Conditions | Packaging timing | Sealed before 24 hours |
I also conduct a simple water test. I take a cured boot sample and submerge it in water for 48 hours. Then I inspect for any surface changes. A properly cured boot shows zero changes. An improperly cured boot might develop cloudiness, white spots, or slight swelling.
The timing of packaging matters more than most buyers realize. I require suppliers to document exact cure completion times before any boot goes into a bag. This single protocol has eliminated nearly all my moisture-related quality issues.
I learned to ask one specific question during FAI: Show me your curing schedule for this production batch. Suppliers who hesitate or provide vague answers get flagged immediately. Professional manufacturers have detailed records and show them proudly.
Conclusion
Effective First Article Inspection combines dimensional testing, heat validation, and curing verification. These three checkpoints protect your investment and ensure customer satisfaction with every silicone tumbler boot order.
-
Discover the steps to ensure proper curing, which is essential for the durability and performance of silicone products. ↩
-
Calculating thickness is key to ensuring product fit and performance, especially in silicone products. ↩
-
Knowing the characteristics of cured silicone helps in assessing product quality and performance. ↩