How to Prevent Water Infiltration in Tumbler Lids for Wholesale Distribution?
A leaky lid kills your brand faster than any competitor. Customers return products, leave bad reviews, and never come back. This problem is more common than most buyers expect.
Preventing water infiltration in tumbler lids comes down to three things: seal material quality, lid design precision, and assembly consistency. Food-grade silicone gaskets, tight tolerance control, and proper pressure testing at the prototype stage1 are the most effective ways to stop leaks before they reach your customers.
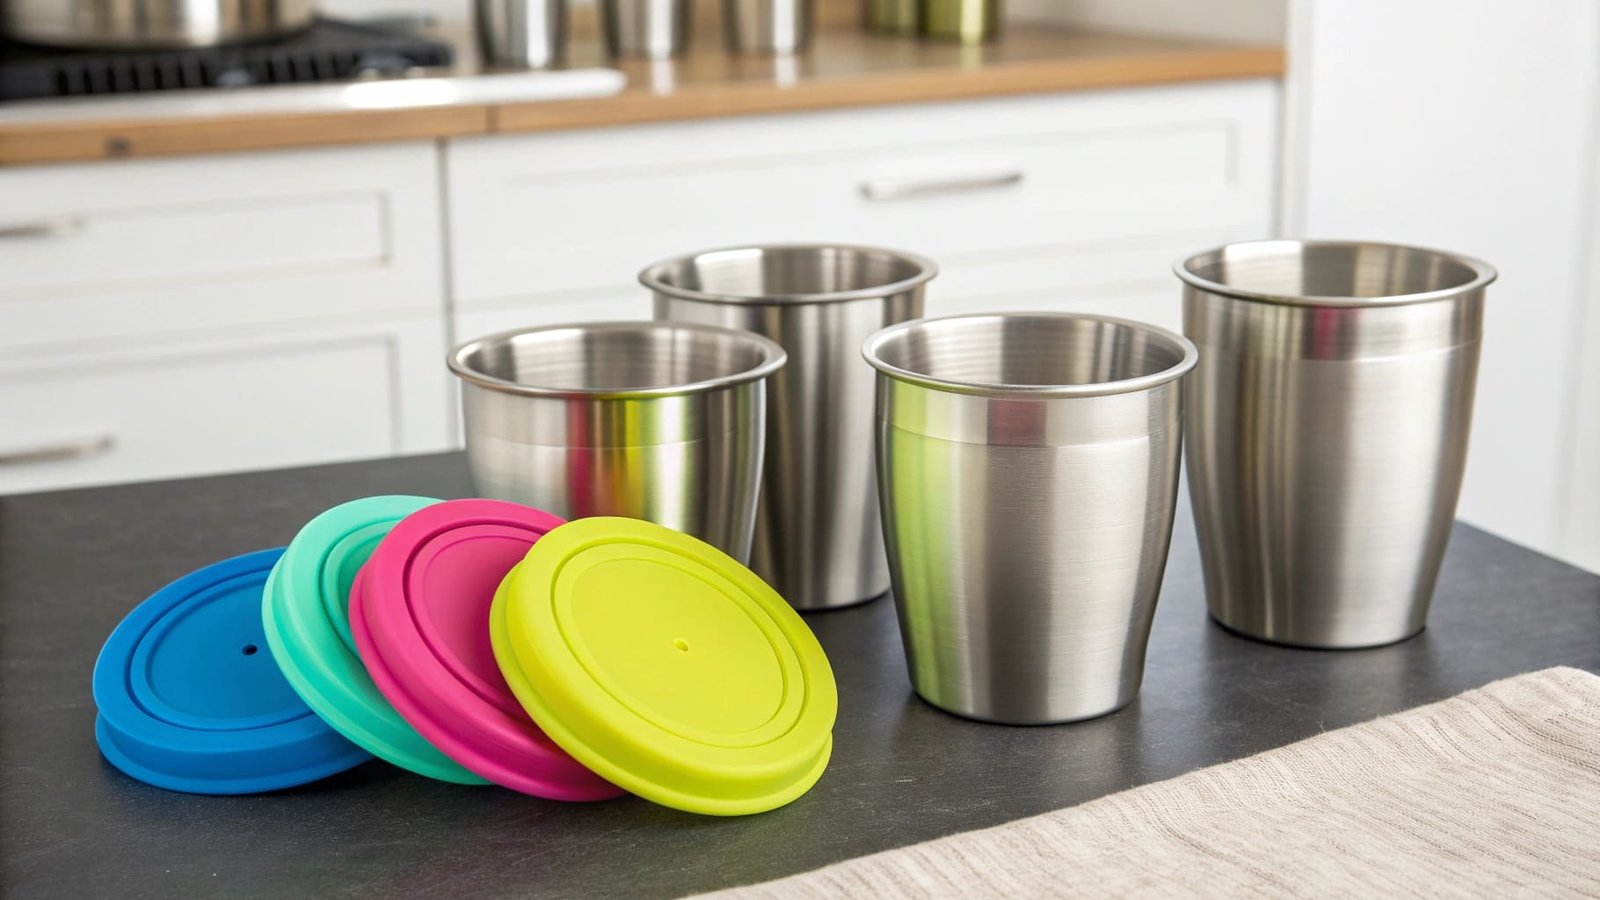
I have seen this issue destroy otherwise strong product launches. A buyer sources a great-looking tumbler, ships it to retail, and within weeks, returns pile up. The problem was there from the start — hidden in the seal. The good news is that this is a solvable problem, and it starts with knowing exactly where leaks come from and how to stop them at the source.
How to Make Stanley Lid Leak Proof?
Stanley-style tumblers are everywhere right now. But high demand means more cheap copies with poor seals flooding the market. If your lid fails, your brand takes the hit.
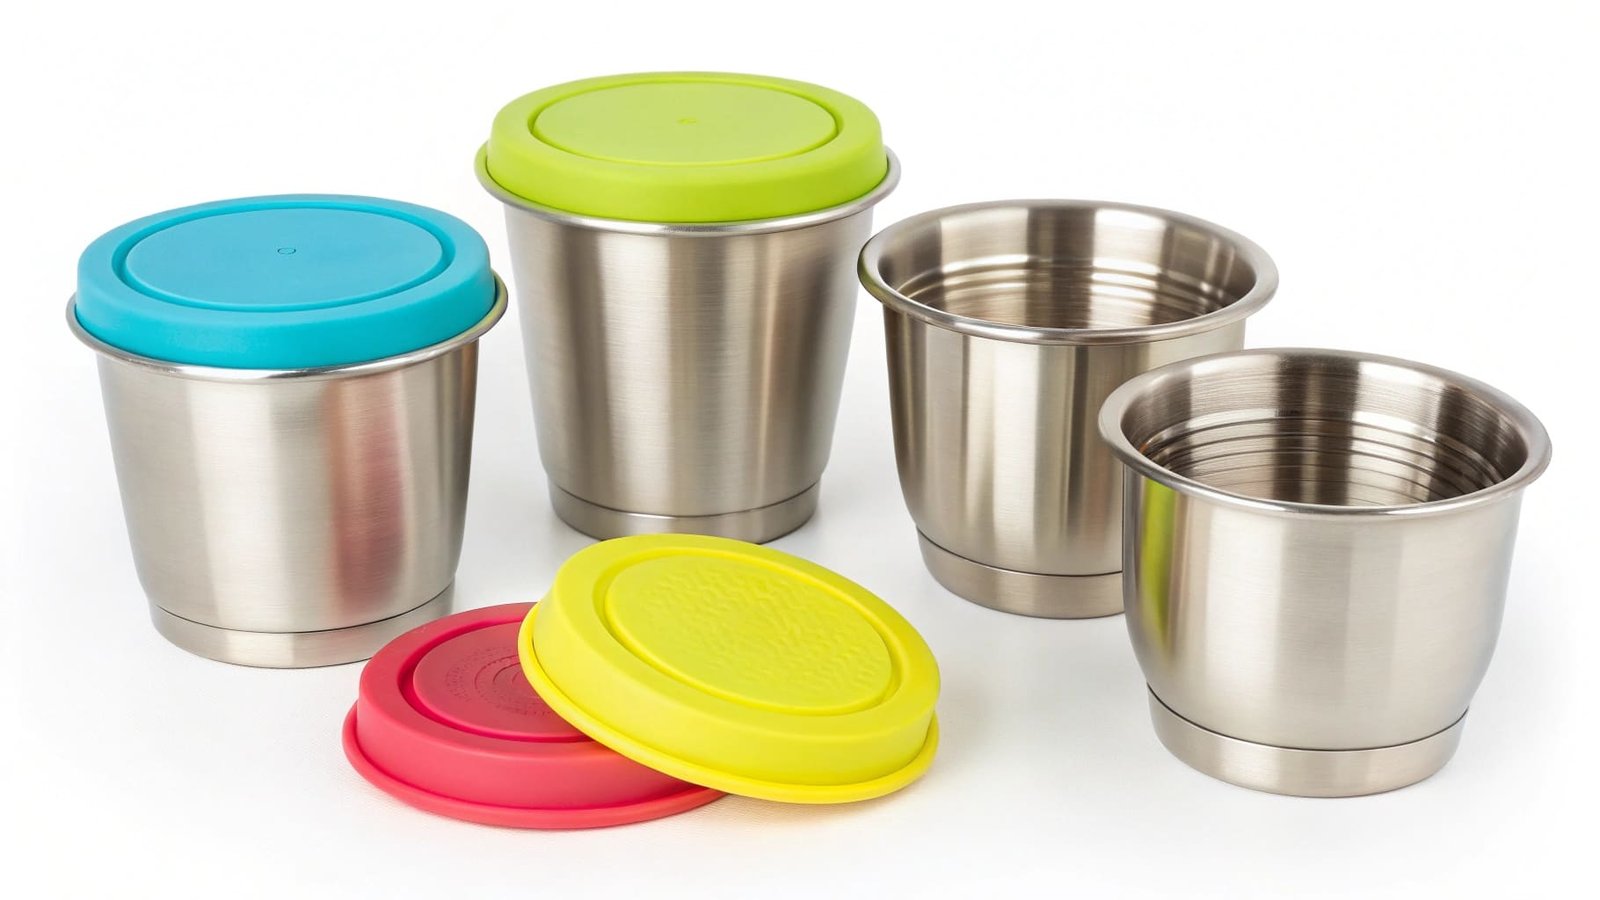
Making a Stanley-style lid leak proof requires a food-grade silicone gasket with the right hardness, a precision-molded groove, and a lid design that creates compression when closed. These three elements work together to form a seal that holds under pressure and daily use.
Why Gasket Material Matters More Than You Think
The gasket is the heart of any leak-proof lid. I have tested many materials over the years, and the gap between cheap and quality is wide.
Food-grade liquid silicone rubber, or LSR, is the best choice for tumbler lid gaskets.2 It should have a Shore A hardness between 40 and 60. This range gives the gasket enough flexibility to compress and form a tight seal, while also being firm enough to bounce back after repeated use.
Cheaper alternatives like TPE look similar but fail faster. They harden, crack, or deform after exposure to hot liquids or repeated dishwasher cycles. A Stanley-style tumbler is expected to last years. A TPE gasket will not keep up.
LSR also handles extreme temperatures without breaking down. It holds its shape from -40°C to 200°C. This matters for both daily use and shipping in hot containers or cold warehouses.
Here is a quick comparison of common gasket materials:
| Material | Temperature Range | Durability | Food-Grade Certified | Cost |
|---|---|---|---|---|
| LSR Silicone | -40°C to 200°C | High | Yes | Medium |
| TPE | -20°C to 100°C | Medium | Varies | Low |
| Rubber | -30°C to 120°C | Medium | Varies | Low |
| EPDM | -40°C to 150°C | Medium-High | Yes | Medium |
Groove Depth Controls the Seal
Even the best gasket fails if the groove holding it is the wrong size. A deviation of just 0.1mm in groove depth can break the seal under pressure.3 This is not a small detail. It is the difference between a product that works and one that leaks in transit.
When I work with manufacturers, I always ask about their tolerance control process. The best ones use precision molds and run dimensional checks during production. This step is often skipped by low-cost suppliers, and buyers pay for it later through returns and complaints.
How to Stop Water Leakage from a Plastic Bottle?
Plastic bottles leak for reasons that are easy to miss during a factory inspection. By the time you find out, you have already shipped thousands of units.
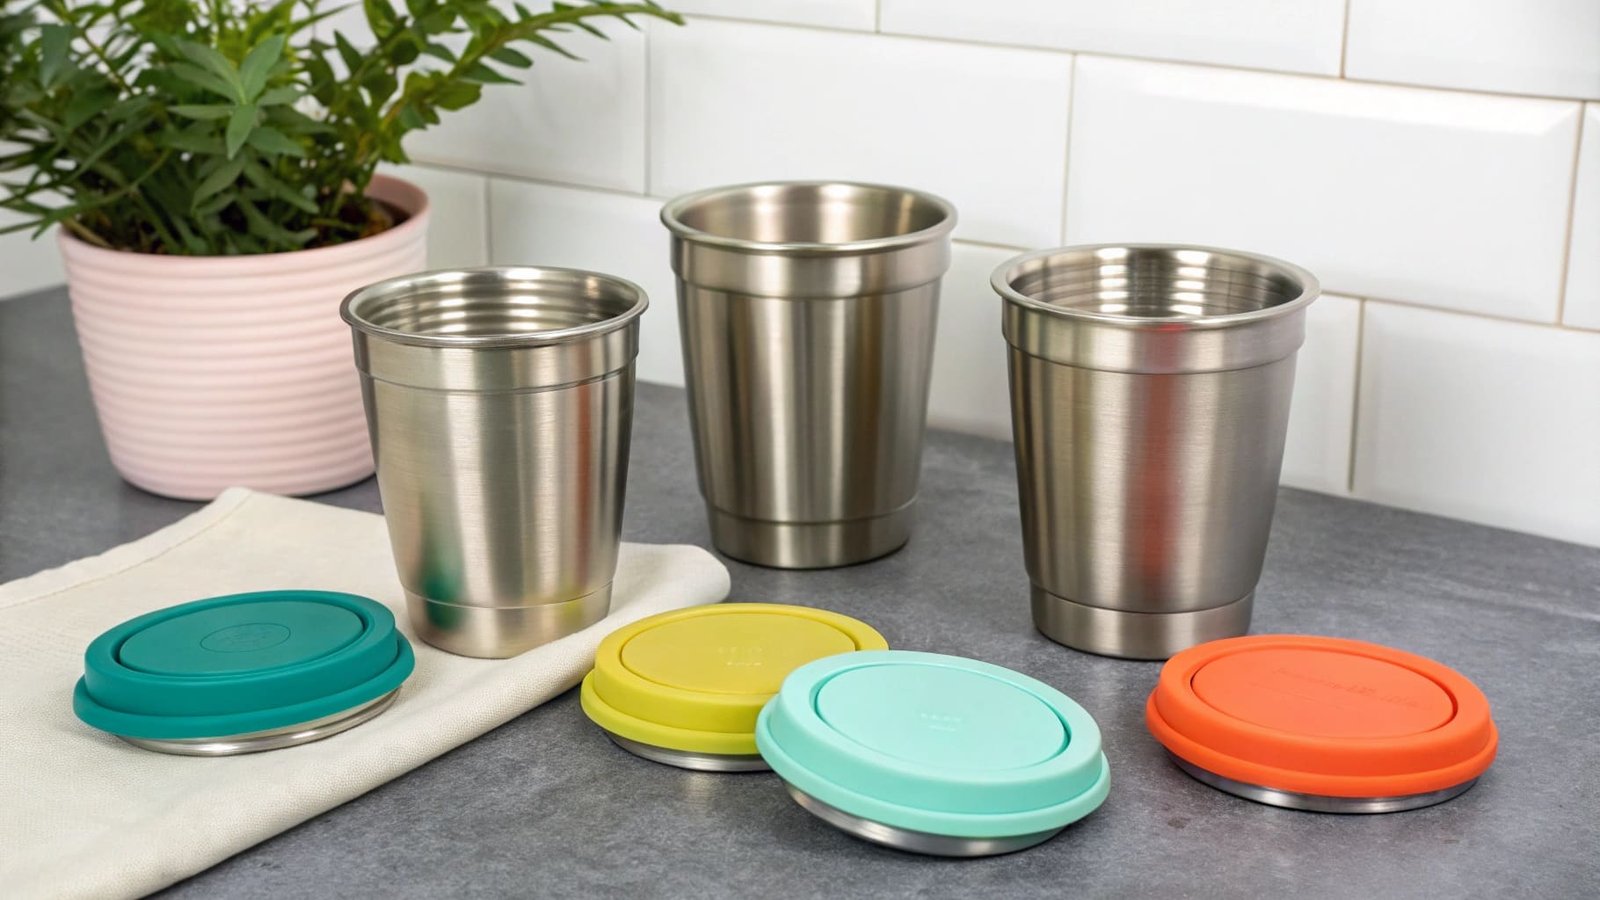
Stopping water leakage from a plastic bottle starts with checking three things: the thread fit between the lid and bottle body, the condition of the inner gasket, and whether the vent system is working correctly. Most leaks come from one of these three points.
Breaking Down the Three Main Leak Points
I always tell buyers to think about leakage as a system problem, not a single defect. A bottle that leaks is usually failing in one or more of these areas at the same time.
Thread Design and Fit
The thread is the first line of defense. If the thread on the lid does not match the thread on the bottle body with precision, no gasket will fully fix the problem. The thread needs to create a compression zone as it tightens. This pushes the gasket into the seal groove and locks out water.
Poorly designed threads leave small gaps. These gaps let water through under pressure, especially when the bottle is squeezed, dropped, or exposed to temperature changes that cause the plastic to expand slightly.
Gasket Condition and Placement
The gasket must sit flat in its groove. If it is twisted, stretched, or placed off-center during assembly, it creates a weak point. Many manufacturers still insert gaskets by hand. This introduces human error at scale.
The better approach is automated gasket insertion. I have visited factories that use automated systems, and the consistency is clearly better. Each gasket sits in the same position every time.
Vent System Balance
A vent system equalizes pressure inside the bottle. Without it, pressure builds up when hot liquid cools down or when the bottle is squeezed. This pressure pushes against the seal from the inside and forces water through any weak point.4
A good vent system lets air move without letting water out. It is a small design detail that many low-cost manufacturers skip entirely. When I review product specs with suppliers, I always check whether the vent is part of the lid design. If it is not, I treat that as a red flag.
Here is a summary of the three main leak points and how to address each one:
| Leak Point | Common Cause | Solution |
|---|---|---|
| Thread Fit | Poor mold tolerance | Precision thread mold with tight spec control |
| Gasket Placement | Manual insertion error | Automated gasket insertion system |
| Vent System | Missing or blocked vent | Integrated vent design in lid mold |
What to Ask Your Supplier Before You Order
Most buyers inspect products after production. By then, it is too late to fix design problems without costly delays. The better approach is to ask the right questions before the mold is cut.
Ask your supplier directly: Do you run hydrostatic pressure tests on the lid at the prototype stage? Do you conduct drop tests with liquid inside? These two tests catch the most common leak failures before mass production begins. A supplier who cannot answer these questions clearly is not ready for wholesale volume orders.
How to Make a Bottle Leak Proof?
You can source a great bottle design and still end up with a leaky product. The issue is rarely the design itself. It is usually the production process behind it.
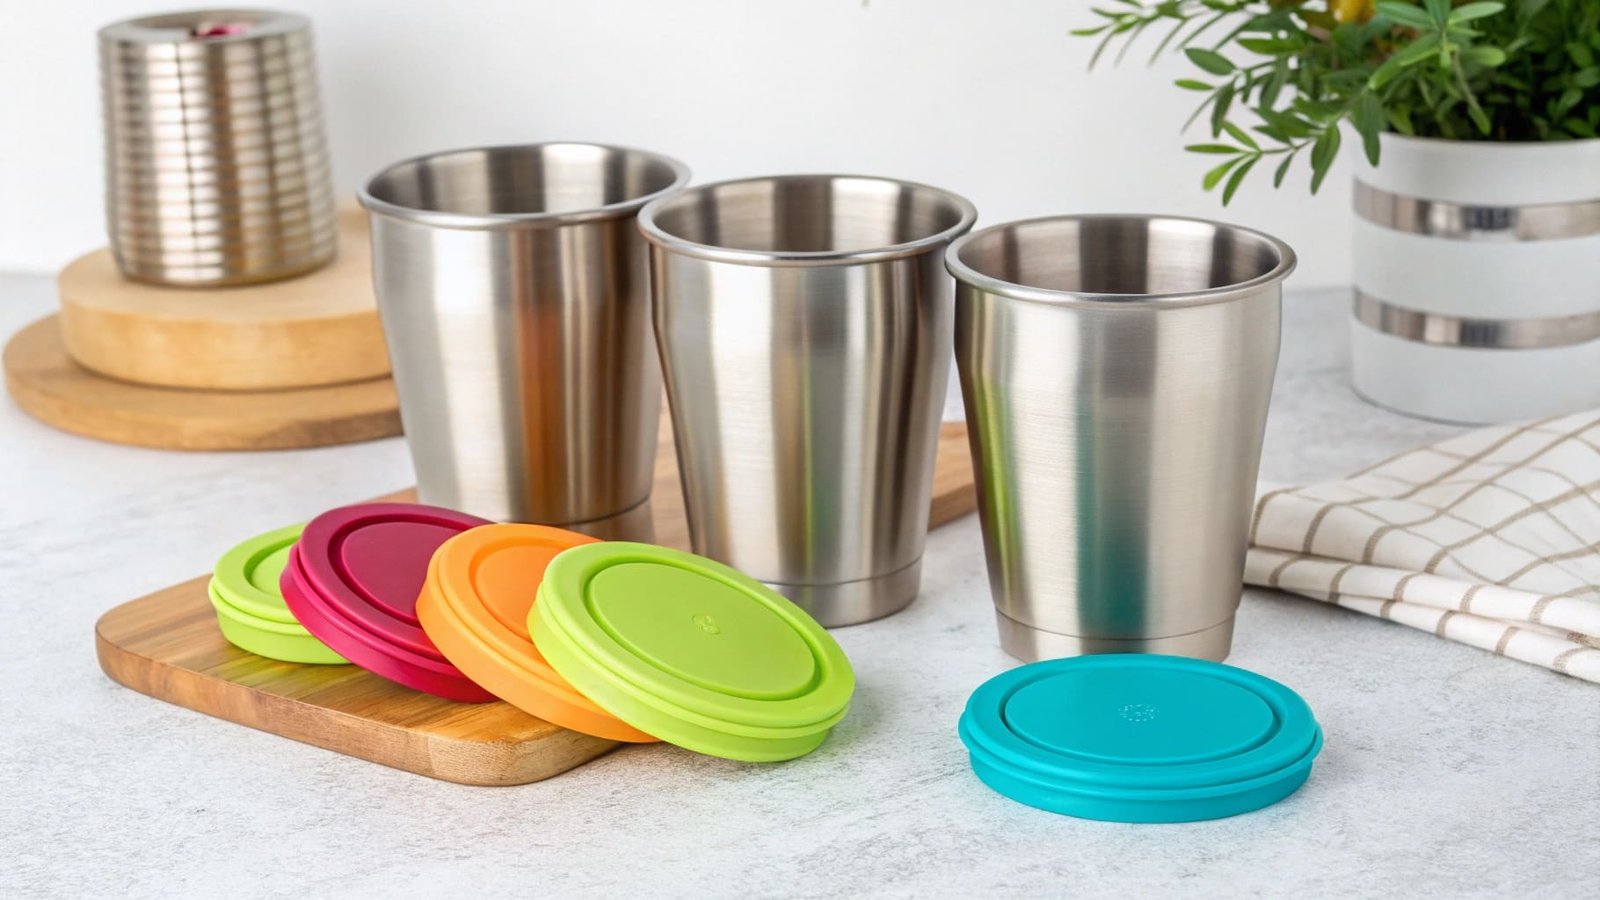
Making a bottle truly leak proof at scale requires more than good materials. It requires a systematic approach to testing, assembly, and quality control that covers every unit in a bulk order, not just the samples shown at a trade show.
Building a Multi-Barrier Leak Prevention System
I use the term multi-barrier approach when I talk to suppliers about leak prevention. It means that no single component is relied on to stop water by itself. Instead, several design elements work together, so that if one point weakens slightly, the others still hold.
This is how reliable drinkware manufacturers build their products. It is also what separates a product that holds up after six months of daily use from one that starts leaking after a few weeks.
The three barriers that matter most are the primary gasket seal, the O-ring at pressure points, and the thread compression zone. Each one adds a layer of protection.
Primary Gasket Seal
This is the main seal between the lid and the bottle opening. It needs to be made from food-grade LSR silicone, sit flat in a precision-molded groove, and compress evenly when the lid is closed. I always request a cross-section drawing of the gasket groove from suppliers before approving a prototype. This tells me immediately whether the groove was designed with the right depth and width for the gasket size.
O-Rings at Pressure Points
Some lid designs include a secondary O-ring at the spout or straw opening. This is especially important for lids with moving parts, like flip-top or straw lids. These points experience repeated stress from opening and closing, which wears down seals faster than a fixed lid. A silicone O-ring placed at this pressure point extends the seal life significantly.
Thread Compression Zone
As I mentioned earlier, the thread design must create a compression zone. But this also depends on the material of the lid. A lid made from harder plastic will hold thread tolerance better than a softer one. When a soft plastic lid is overtightened, the thread can strip slightly, which breaks the compression zone and opens a leak path.
Here is how the three barriers work together:
| Barrier | Location | Function | Key Spec |
|---|---|---|---|
| Primary Gasket | Lid rim groove | Main water seal | LSR, Shore A 40–60 |
| O-Ring | Spout or straw point | Secondary pressure seal | Food-grade silicone |
| Thread Compression | Lid-to-bottle thread | Locks seal under tightening | Precision mold tolerance |
How Testing at the Prototype Stage Saves You Money
I have worked with buyers who skip prototype testing to save time. Almost all of them regret it. One shipment of leaky products costs far more than a proper testing round ever would.
Hydrostatic pressure testing fills the bottle with water and applies internal pressure to check whether any point in the seal system fails.5 Drop testing checks whether the seal holds after impact, which is one of the most common real-world conditions a bottle faces.
The most reliable suppliers I have worked with build both tests into their standard prototype review process. They do not wait for the buyer to ask. If a supplier treats these tests as optional extras, that tells me they are not thinking about long-term product performance.
Automated gasket insertion is the other production step that separates consistent wholesale quality from inconsistent batch quality. When gaskets are inserted by hand across thousands of units, variation is unavoidable. Automated systems remove that variable entirely. Every gasket sits in the same position, compressed to the same depth, in every single unit.
For any wholesale buyer building a brand in a competitive market, this level of consistency is not a luxury. It is what keeps your return rate low, your reviews positive, and your reorder cycle healthy.
Conclusion
Leak-proof lids come down to material quality, design precision, and consistent production. Get these three right, and your brand stays protected.
-
"[PDF] design and analysis of silicone gasket sealing for waterproof", https://rex.libraries.wsu.edu/view/pdfCoverPage?instCode=01ALLIANCE_WSU&filePid=13338221280001842&download=true. Standards and technical guidance for container closure integrity testing treat gasket material suitability, dimensional fit, and pressure or leak testing as core elements of closure validation. Evidence role: general_support; source type: institution. Supports: A standards body or technical institution should support the use of appropriate gasket materials, tolerance control, and leak or pressure testing in validating container closures.. Scope note: Such standards may address containers and closures broadly rather than insulated tumblers specifically. ↩
-
"Progress in research on the safety of silicone rubber products in ...", https://pubmed.ncbi.nlm.nih.gov/37183940/. Technical literature describes food-grade silicone elastomers, including liquid silicone rubber, as common materials for food-contact gaskets because they combine thermal stability, elasticity, and low compression set. Evidence role: expert_consensus; source type: research. Supports: A neutral technical source should support that food-grade silicone or LSR is commonly used for food-contact seals because of its thermal stability, elasticity, and suitability for repeated compression.. Scope note: The source can support silicone’s suitability, but it may not prove it is the single best material for every tumbler lid design. ↩
-
"Failure Modes and Influencing Factors of Rubber O-Ring Seals in ...", https://pmc.ncbi.nlm.nih.gov/articles/PMC12656242/. Seal-design literature explains that groove dimensions control gasket squeeze and compression; small deviations can reduce contact pressure and create leakage paths under internal pressure. Evidence role: mechanism; source type: research. Supports: A seal-design source should support that small groove-depth deviations affect gasket compression and can create leak paths under pressure.. Scope note: A source may support the tolerance mechanism without confirming that 0.1 mm is the failure threshold for every tumbler lid. ↩
-
"[PDF] determination of the leak size critical to package - VTechWorks", https://vtechworks.lib.vt.edu/bitstream/handle/10919/26690/Kelleretd.pdf?sequence=1&isAllowed=y. Fluid-mechanics and package-integrity literature explains that leakage occurs when a pressure differential drives liquid through defects or inadequately compressed regions in a sealing interface. Evidence role: mechanism; source type: research. Supports: A fluid-mechanics or packaging source should support that pressure differentials across a seal can drive leakage through defects or low-compression regions.. Scope note: The source may describe pressure-driven leakage generally rather than testing consumer drinkware lids. ↩
-
"Hydrostatic test", https://en.wikipedia.org/wiki/Hydrostatic_test. Technical standards describe hydrostatic testing as filling an article with liquid and applying internal pressure to evaluate leakage, deformation, or failure of the pressure boundary. Evidence role: definition; source type: institution. Supports: A standards organization or technical institution should support that hydrostatic testing uses internal water pressure to identify leakage or structural failure.. Scope note: The test standard may be written for broader container or pressure applications rather than consumer tumblers. ↩